Three weeks ago, I was standing in my kitchen at 6:45 PM, staring into the abyss of my refrigerator. It was one of those nights where I had zero energy, the kids were already whining about dinner, and I really, really did not want to cook. I considered ordering takeout. I considered cereal. But then I remembered I had a bag of boneless, skinless chicken thighs in the freezer that needed to go.
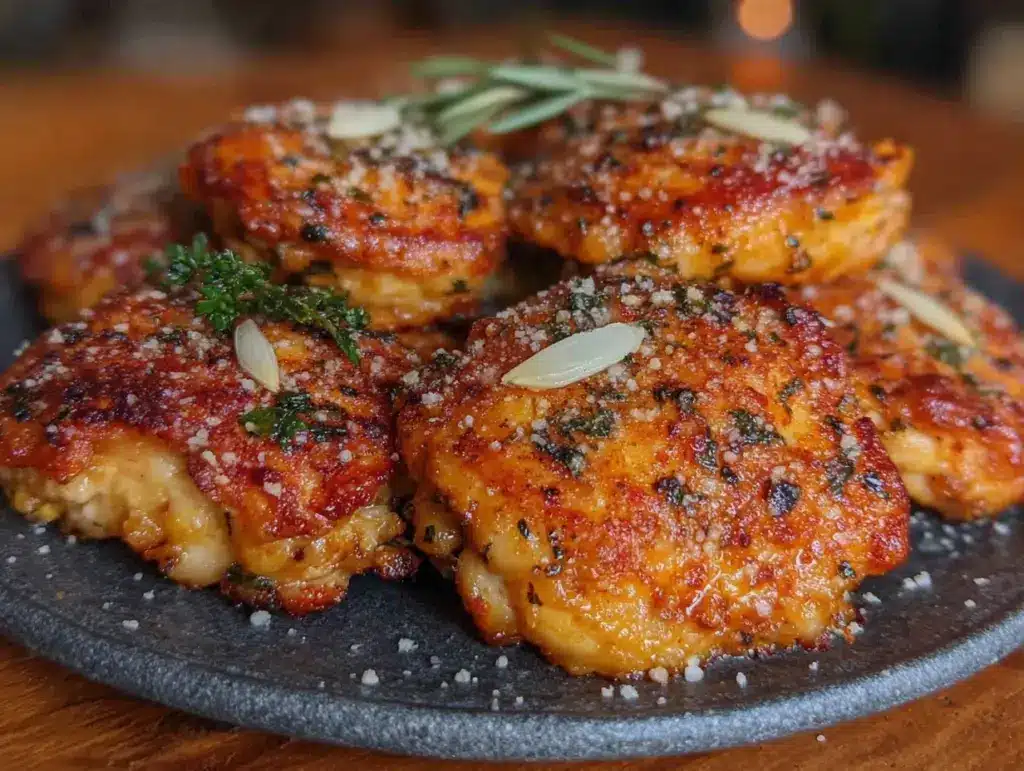
Now, I know what you’re thinking. Chicken thighs in the air fryer? Isn’t that just going to be dry or weirdly textured? I thought the same thing for years. I stuck to chicken breasts because I was terrified of messing up the thighs (spoiler: thighs are forgiving, breasts are high-maintenance divas). But I finally gave in and tossed some thighs into the basket with just a few pantry staples. Fifteen minutes later, the smell of garlic and browned Parmesan filled the house, and my kids actually asked for seconds. Not “okay, can I have three more bites,” but actual seconds.
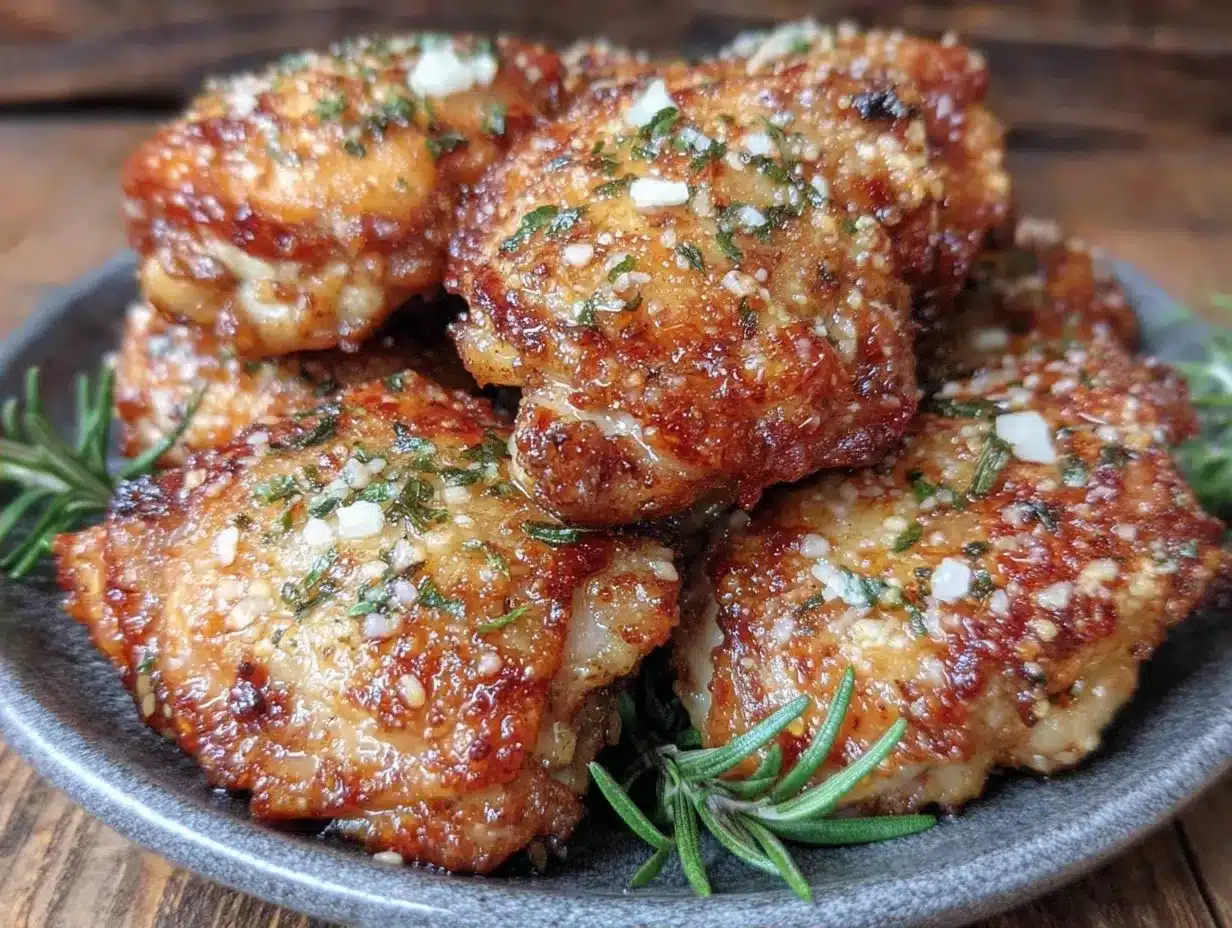
That was the moment I realized I had found the holy grail of weeknight dinners. These Crispy Garlic Parmesan Air Fryer Chicken Thighs are hands-down the easiest, most delicious way to get protein on the table without breaking the bank or spending hours in the kitchen. I’ve made them at least six times in the last month, and every single time, they come out golden, crunchy, and juicy. If you’ve been looking for a reliable 15-minute easy weeknight dinner that actually tastes like effort, this is it. No fancy techniques, no weird ingredients, just simple, budget-friendly comfort food.
Why You’ll Love This Recipe
I’m not exaggerating when I say this recipe has completely changed our dinner routine. It’s become my go-to answer for “What’s for dinner?” when I’m tired, broke, or just don’t feel like thinking. Here’s why I keep coming back to it:
- Stupid Simple — Seriously, if you can mix ingredients in a bowl, you can make this. I’ve had my 12-year-old make these after school while I was on a work call. No heat, no mess, just toss and cook.
- Lightning Fast — 15 minutes from start to finish. That’s less time than it takes to scroll through delivery apps. I make this on nights when I get home at 7pm and have zero energy left.
- Budget-Friendly — Chicken thighs are significantly cheaper than breasts or steak. You probably already have the garlic, Parmesan, and breadcrumbs in your pantry. This feeds 4 people for under $10.
- Kid-Approved Crunch — The texture is the game-changer. It’s crispy on the outside, soft on the inside. My picky eaters, who usually pick off the “weird bits,” ask for this every time. It tastes like restaurant chicken but costs pennies.
- Meal Prep Friendly — I often double or triple the batch. These reheat beautifully in the air fryer (microwaves make them soggy, so skip that). They’re perfect for lunches or quick dinners later in the week.
This is the kind of recipe that takes the stress out of feeding a family. It’s reliable, it’s cheap, and it tastes amazing. Plus, if you need a side dish to round out the meal, this pairs perfectly with something simple like my easy budget-friendly bacon ranch potato salad. You’ve got your protein, your starch, and your veggie all covered without breaking a sweat.
Ingredients You’ll Need
Here’s the best part: you probably have 90% of this already. I’m not asking you to go to three different stores for obscure spices. This is pantry-staple cooking at its finest.
The Chicken
Boneless, Skinless Chicken Thighs (2 pounds / 900g) — This is the star. Thighs have more fat than breasts, which means they stay juicy in the air fryer. Don’t substitute breasts unless you’re willing to watch them like a hawk—they’ll dry out. Look for packages on sale; they’re usually the cheapest meat in the store.
Dried Italian Seasoning (1 tablespoon) — Or use a mix of dried basil, oregano, and thyme. It adds that classic “Italian takeout” flavor without the salt overload. I keep a jar in my cupboard specifically for this.
Garlic Powder (1 teaspoon) — For that savory backbone. Fresh garlic can burn in the air fryer if you’re not careful, so powder is safer and more consistent here.
Onion Powder (½ teaspoon) — Adds sweetness and depth. Again, powder works better than fresh here because it doesn’t burn.
The Crispy Coating
Parmesan Cheese (½ cup / 50g, freshly grated) — Buy the block and grate it yourself. Pre-grated cheese has cellulose in it, which prevents it from melting properly and can make your coating gritty. It takes 2 minutes and makes a huge difference.
Breadcrumbs (½ cup / 50g) — Panko breadcrumbs are my favorite because they get extra crispy, but regular dry breadcrumbs work too. If you have a loaf of stale bread, you can pulse it in a food processor for homemade crumbs. Zero waste!
Mayonnaise (½ cup / 120g) — I know, it sounds weird. But mayo acts as the binder. It helps the cheese and crumbs stick to the chicken, and when it cooks, it creates that golden, crispy crust. Trust me. You won’t taste the mayo.
Minced Fresh Garlic (2 cloves) — Yes, we use powder *and* fresh. The fresh adds a punchy aroma that powder can’t quite match. Mince it finely so it doesn’t burn.
Optional Add-Ins
Red Pepper Flakes (½ teaspoon) — If you like a little kick. My husband loves this version.
Fresh Parsley (2 tablespoons, chopped) — For garnish. It adds a pop of color and freshness that cuts through the richness.
Equipment Needed
You don’t need fancy gadgets for this. Here’s what I actually use:
Air Fryer — Obviously! I use a 5.8-quart basket. If you have a smaller one, you might need to cook in two batches. Don’t overcrowd the basket, or the chicken will steam instead of crisp up.
Two Bowls — One for the mayo mixture, one for the breadcrumb/cheese mix. I use a shallow pie dish for the dry mix so it’s easy to dip.
Tongs — For flipping the chicken halfway through. Forks can poke holes and let the juices out.
Pastry Brush or Spoon — To spread the mayo mixture evenly over the chicken.
Cutting Board and Knife — For trimming any excess fat off the thighs. I like to keep a little fat for flavor but trim the big chunks.
How to Make It: Step-by-Step
Alright, let’s make this! I’m walking you through exactly how I do it, including the little tricks I’ve picked up to ensure perfect results every time.
Step 1: Prep the Chicken (5 minutes)
Pat the chicken thighs dry with paper towels. This sounds like a boring step, but it’s crucial. Moisture is the enemy of crispiness. If the chicken is wet, the coating won’t stick, and you’ll end up with soggy bits. Trim any large pieces of fat, but don’t go overboard—you want some fat for flavor.
Step 2: Make the Mayo Mixture (2 minutes)
In a medium bowl, mix the mayonnaise, minced fresh garlic, and dried Italian seasoning. It should smell amazing already. If you’re adding red pepper flakes, stir them in now. The goal is a smooth, spreadable paste.
Step 3: Make the Crumb Coating (2 minutes)
In a shallow dish (like a pie plate), combine the grated Parmesan cheese, breadcrumbs, garlic powder, onion powder, salt, and black pepper. Mix it well with a fork so the spices are evenly distributed. You want every bite to be seasoned.
Step 4: Coat the Chicken (5 minutes)
This is the fun part. Take a chicken thigh and spread the mayo mixture all over it. Make sure you get into the crevices. Then, press the chicken into the breadcrumb mixture. Press down firmly! I like to press it twice—once on each side—to ensure the coating sticks. Shake off any excess crumbs. Repeat with all the thighs.
Pro Tip: If you’re making a large batch, do the mayo first for all chicken, then the breadcrumbs. It’s faster than doing one chicken at a time.
Step 5: Air Fry (12-15 minutes)
Preheat your air fryer to 400°F (200°C) for 3 minutes. This helps the crust set immediately. Lightly spray the basket with oil (or wipe it with an oil-soaked paper towel) to prevent sticking. Place the chicken thighs in a single layer. Do not overlap them!
Cook for 12-15 minutes, flipping halfway through. At the 6-minute mark, flip the chicken and spray the tops lightly with oil. This helps them brown evenly. The chicken is done when the internal temperature reaches 165°F (74°C) and the coating is golden brown and crispy.
Note: Cooking times vary based on the size of your thighs and your air fryer model. Check at 12 minutes. If they’re not crispy enough, give them 2 more minutes.
Step 6: Rest and Serve (3 minutes)
Let the chicken rest for 3-5 minutes after cooking. This allows the juices to redistribute so they don’t run out when you cut into them. Sprinkle with fresh parsley if you’re feeling fancy. Serve immediately while they’re hot and crispy.
Expert Tips & Tricks
Here’s everything I’ve learned from making this dozens of times. These tips will save you from my mistakes.
Don’t Skip the Preheat
I used to skip this to save time, but the chicken comes out less crispy. A hot basket helps the coating set instantly, creating that crunch.
Press the Coating On
Don’t just roll the chicken in the crumbs. Press them on with your hand. I’ve had coatings fall off before because I was too gentle. Treat it like you’re putting a band-aid on—it needs pressure to stick.
Use a Thermometer
I used to cut into the chicken to check doneness, which let the juices out. Now I use an instant-read thermometer. It’s accurate and keeps the chicken juicy. 165°F is the magic number.
Double the Batch
This recipe scales up easily. I often make 4 pounds of chicken on Sunday. Store the uncooked coated thighs in the fridge for up to 2 days, or freeze them on a baking sheet before bagging. Reheat straight from frozen in the air fryer at 375°F for 18-20 minutes.
Avoid Overcrowding
If you pack the basket too tight, the chicken steams. Leave space between the thighs. If you have a small air fryer, cook in two batches. It’s worth the extra 10 minutes.
Variations & Substitutions
Once you’ve nailed the basic version, here’s how you can mix it up. I’ve tried all of these.
Spicy Version
Add 1 teaspoon of cayenne pepper or 1 tablespoon of Cajun seasoning to the breadcrumb mix. This is great if you like heat. My son loves this version with a side of ranch.
Herb-Forward
Swap the Italian seasoning for dried rosemary and thyme. It gives it a more rustic, European vibe. Great with mashed potatoes.
Dairy-Free
Use dairy-free Parmesan alternative (nutritional yeast works too) and swap the mayo for olive oil or vegan mayo. It’s not quite the same texture, but it still works.
Gluten-Free
Use gluten-free breadcrumbs or crushed gluten-free crackers. The rest of the ingredients are naturally gluten-free.
Different Chicken Cuts
You can use chicken breasts, but reduce cooking time to 10-12 minutes and watch them closely. They dry out faster. Drumsticks work too, but you’ll need to adjust cooking time slightly.
If you’re looking for another chicken recipe that’s different but equally easy, check out my crispy air fryer chicken wings with honey garlic glaze. It’s a great appetizer or snack option.
Serving & Storage
How to Serve:
I usually serve these straight from the air fryer basket on a platter—it looks rustic and stays warm. But here are some side dish ideas that work well:
- Roasted Vegetables — Broccoli, asparagus, or green beans tossed in olive oil and salt.
- Simple Salad — A green salad with balsamic vinaigrette cuts through the richness.
- Carbs — Mashed potatoes, rice, or crusty bread are perfect for soaking up any extra juices.
- Sauces — Ranch, marinara, or garlic aioli for dipping. My kids go crazy for the marinara.
Storage Instructions:
Refrigerator: Store leftovers in an airtight container for up to 3 days. The coating will soften slightly, but it’s still good.
Reheating: Do not microwave! It will make the chicken rubbery and the coating soggy. Reheat in the air fryer at 375°F for 3-4 minutes. This brings back the crispiness. If you don’t have an air fryer, use a toaster oven or conventional oven at 375°F for 10 minutes.
Freezing: You can freeze the uncooked coated chicken. Place them on a baking sheet in the freezer until solid, then transfer to a freezer bag. Cook from frozen, adding 5 minutes to the cook time. Cooked leftovers do not freeze well—the texture gets weird.
Nutrition Information
I’m not a nutritionist, but here’s the breakdown if you’re tracking. This is per serving (based on 4 servings, 4 thighs per serving).
| Nutrient | Amount |
|---|---|
| Calories | 450 |
| Protein | 35g |
| Carbs | 12g |
| Fat | 30g |
| Sodium | 400mg |
What’s Good:
High protein, moderate carbs. The Parmesan adds calcium. It’s a balanced meal if you pair it with veggies.
What to Know:
Higher in fat from the chicken thighs and mayo, but it’s mostly healthy fats. The sodium is moderate, but you can reduce it by using low-sodium Parmesan.
My Take:
Look, this is comfort food. It’s not a diet recipe, but it’s way better than takeout. When I want to make it lighter, I use less mayo and more herbs. But usually? I just eat a reasonable portion and enjoy it. Balance is key.
Final Thoughts
So that’s my go-to Crispy Garlic Parmesan Air Fryer Chicken Thighs! I’ve probably talked your ear off at this point, but when you make a recipe this often, you have a lot to say about it.
This has saved weeknight dinners more times than I can count. It’s my answer to “what’s for dinner” when I’m tired, don’t want takeout, and still want something that tastes really good. My kids are happy, my husband’s happy, and I’m happy because I’m not stressed about cooking. Plus, it’s cheap. Really cheap. You can feed a family of four for the price of two pizzas.
Make it yours! Try different herbs, swap in your favorite breadcrumbs, or add extra garlic if you’re a garlic lover (I am). The best recipes are the ones you adapt to your family’s tastes.
If you make this, drop a comment and let me know what you think! I love hearing how recipes turn out in your kitchen. And if something doesn’t work, tell me that too—I’m here to help troubleshoot. Happy cooking! And I hope your kitchen smells half as good as mine does right now.
Frequently Asked Questions
Can I use chicken breasts instead of thighs?
You can, but they will be less juicy and cook faster. I recommend reducing the cook time to 10-12 minutes and checking the temperature early. Thighs are more forgiving and cheaper, so I usually stick with them.
Why is my coating falling off?
Usually, this means the chicken was too wet or you didn’t press the crumbs on firmly enough. Pat the chicken dry with paper towels before coating, and press the breadcrumb mixture on with your hand. Also, make sure the air fryer is preheated.
Can I bake these in the oven?
Yes! Preheat your oven to 400°F (200°C). Place the coated chicken on a wire rack set over a baking sheet (this helps air circulate). Bake for 20-25 minutes, flipping halfway through. They won’t be as crispy as air-fried, but still good.
How do I store leftovers?
Store in an airtight container in the fridge for up to 3 days. Reheat in the air fryer or oven to maintain crispiness. Do not microwave.
Can I freeze the cooked chicken?
I don’t recommend it. The texture of the coating can become soggy or weird when thawed and reheated. It’s better to freeze the uncooked, coated chicken thighs.
What if I don’t have panko breadcrumbs?
Regular dry breadcrumbs work fine. You can also use crushed crackers or even cornflakes for extra crunch. Just make sure they’re dry and crumbly.
Can I double the recipe?
Absolutely! Double all the ingredients. You’ll just need to cook in batches to avoid overcrowding the air fryer basket. The cooking time per batch stays the same.
Pin This Recipe!
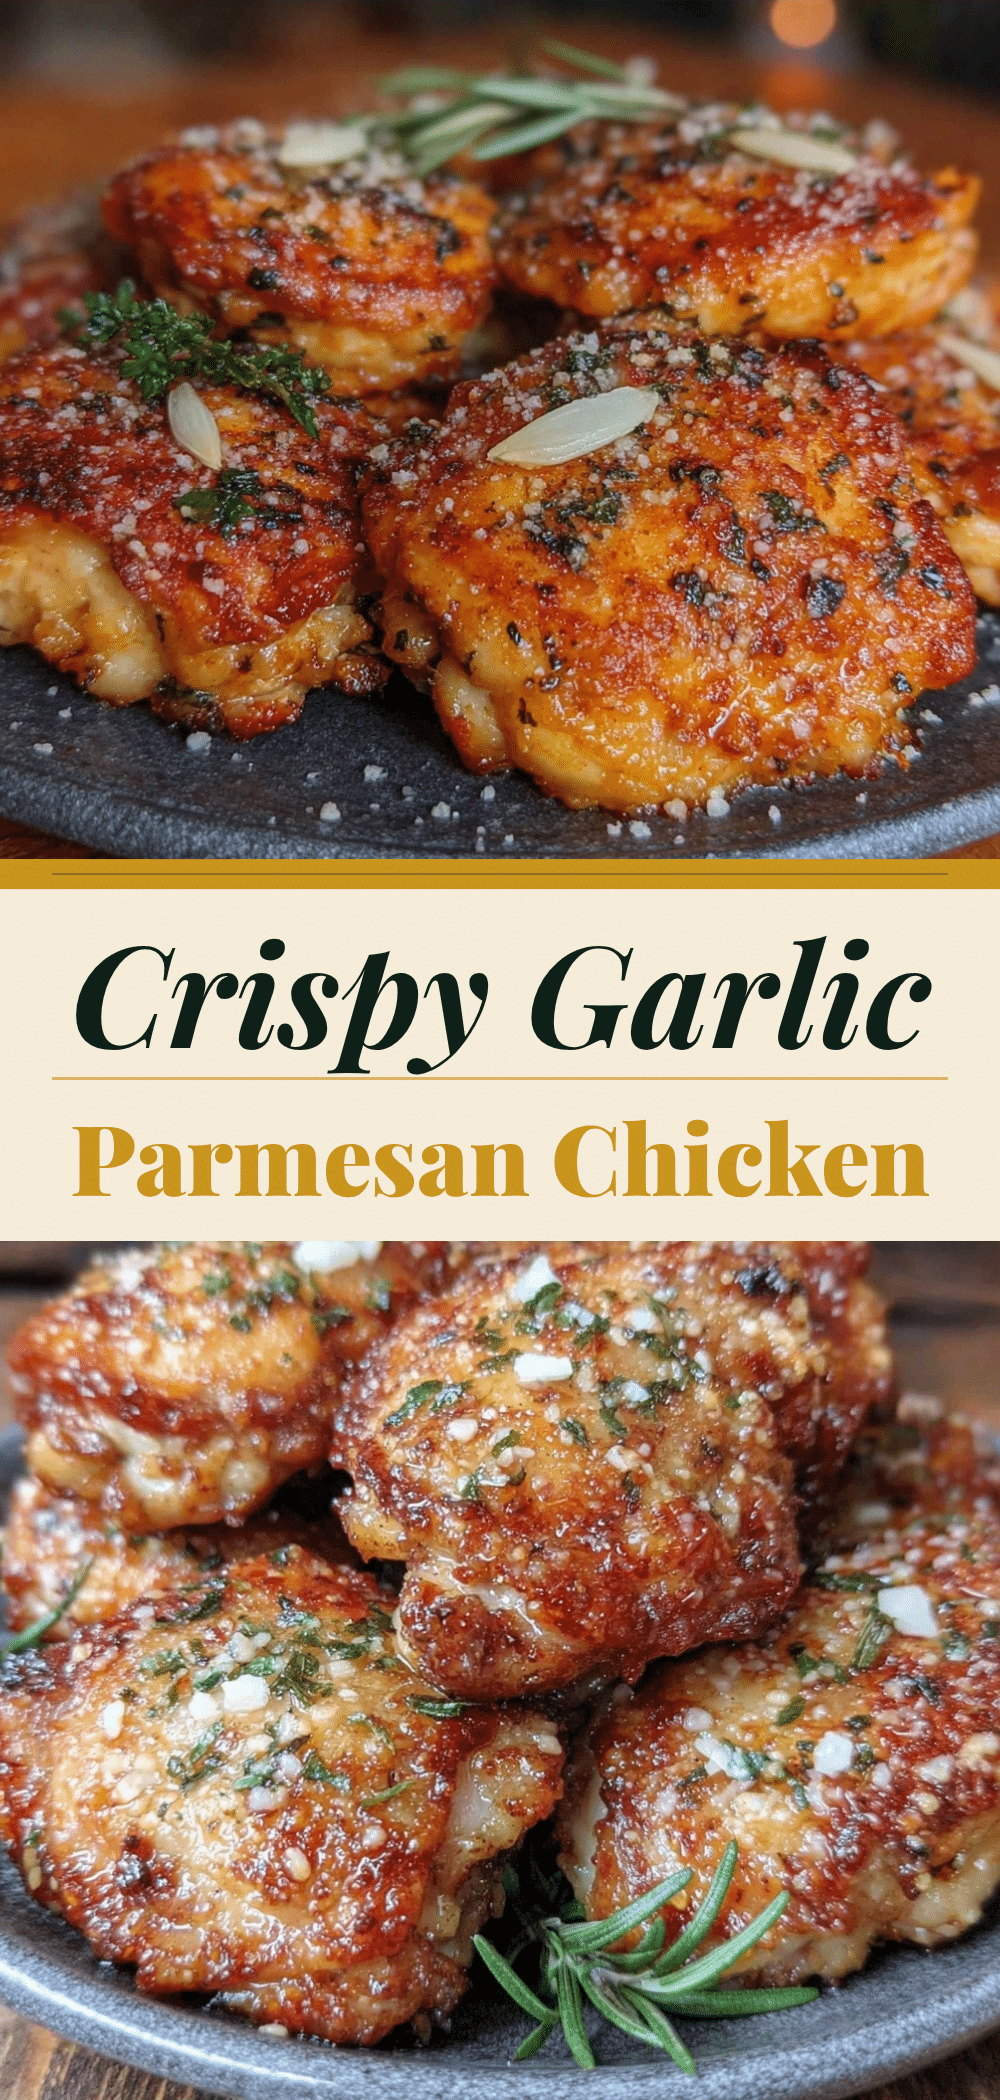

Crispy Garlic Parmesan Air Fryer Chicken Thighs
- Total Time: 30 minutes
- Yield: 4 servings 1x
Description
These crispy garlic parmesan air fryer chicken thighs are an easy, budget-friendly weeknight dinner that comes together in just 15 minutes. The chicken is coated in a savory mixture of mayo, parmesan, and breadcrumbs for a golden, crunchy crust while staying juicy inside.
Ingredients
- 2 pounds boneless, skinless chicken thighs
- 1 tablespoon dried Italian seasoning
- 1 teaspoon garlic powder
- 1/2 teaspoon onion powder
- 1/2 cup freshly grated Parmesan cheese
- 1/2 cup Panko or dry breadcrumbs
- 1/2 cup mayonnaise
- 2 cloves fresh garlic, minced
- 1/2 teaspoon red pepper flakes (optional)
- 2 tablespoons fresh parsley, chopped (for garnish)
- Salt and black pepper to taste
- Cooking spray or oil for the basket
Instructions
- Pat the chicken thighs dry with paper towels and trim any large pieces of excess fat.
- In a medium bowl, mix the mayonnaise, minced fresh garlic, and dried Italian seasoning until smooth.
- In a shallow dish, combine the grated Parmesan cheese, breadcrumbs, garlic powder, onion powder, salt, and black pepper.
- Spread the mayo mixture evenly over each chicken thigh, ensuring it gets into crevices.
- Press the chicken firmly into the breadcrumb mixture, coating both sides. Shake off excess crumbs.
- Preheat the air fryer to 400°F (200°C) for 3 minutes.
- Lightly spray the air fryer basket with oil and place chicken thighs in a single layer without overlapping.
- Cook for 12-15 minutes, flipping halfway through and spraying tops with oil at the 6-minute mark.
- Chicken is done when internal temperature reaches 165°F (74°C) and coating is golden brown.
- Let chicken rest for 3-5 minutes before serving. Garnish with fresh parsley if desired.
Notes
Do not overcrowd the air fryer basket to ensure crispiness. For best results, press the coating firmly onto the chicken. If using chicken breasts, reduce cooking time to 10-12 minutes. Leftovers can be stored in the fridge for up to 3 days and reheated in the air fryer at 375°F for 3-4 minutes. Do not microwave as it makes the coating soggy.
- Prep Time: 15 minutes
- Cook Time: 15 minutes
- Category: Main Course
- Cuisine: American
Nutrition
- Serving Size: 4 thighs per serving
- Calories: 450
- Sodium: 400
- Fat: 30
- Carbohydrates: 12
- Protein: 35
Keywords: air fryer chicken, chicken thighs, easy weeknight dinner, crispy chicken, parmesan chicken, garlic chicken, family dinner, budget-friendly meals