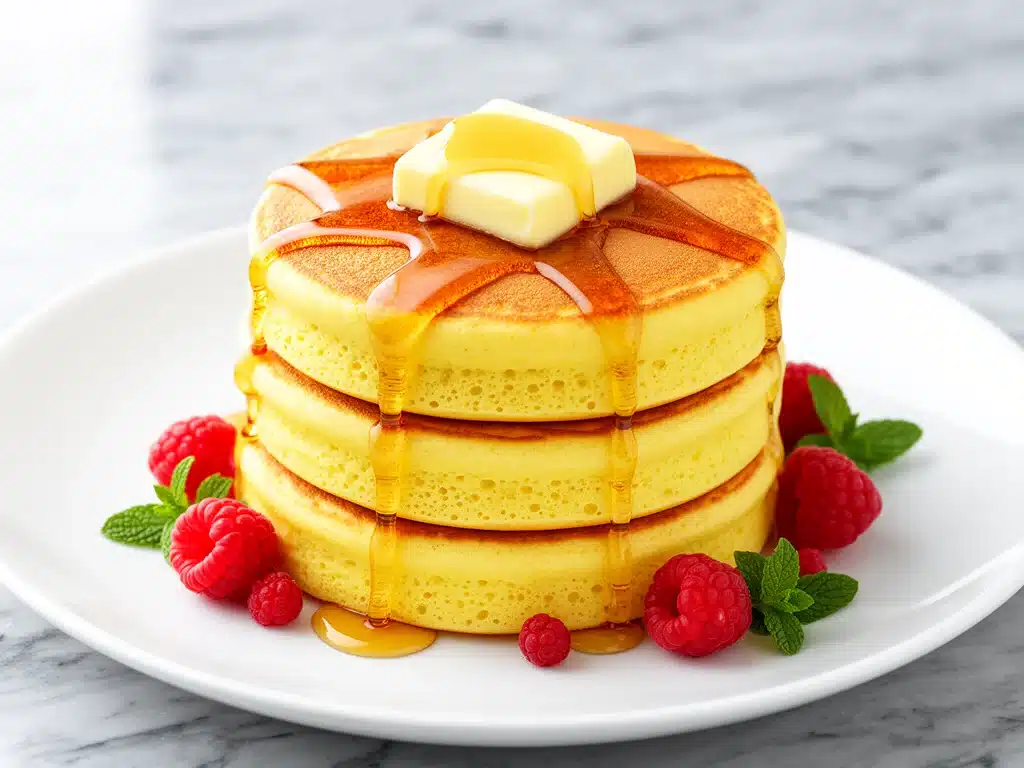
There is a very specific kind of magic that happens when the alarm clock is turned off and the house is still quiet. I remember one particular Sunday morning a few years ago, back when my kids were small enough to still need convincing to get out of bed. I had promised them pancakes. Not the dry, flat, store-bought kind, but the tall, golden, stack-high kind that makes you feel like you’re in a movie montage.
I burned the first batch. Not lightly charred—actually black. I was rushing, distracted by a laundry pile that seemed to multiply by the hour, and I walked away for just thirty seconds. When I turned back, the smell wasn’t sweet syrup; it was bitter smoke. I felt that familiar pang of guilt, the one that says, “You messed up the one thing you were supposed to get right.”
But then I threw out the pan, wiped it down, and started over. This time, I slowed down. I let the buttermilk come to room temperature. I didn’t overmix the batter. I used real butter, not the spray. When those second pancakes hit the griddle, the aroma filled the house with something warm and nostalgic. My kids came shuffling in, rubbed their eyes, and when they took the first bite, their faces lit up. “These are better than Denny’s,” my oldest declared. And honestly? He was right.
That morning taught me that perfect pancakes aren’t about fancy equipment or rare ingredients. They’re about patience and a few small tricks that most recipes don’t bother to explain. Since then, I’ve made these fluffy buttermilk pancakes with maple butter dozens of times. They’ve become my go-to for lazy weekends, rainy mornings, and even impromptu dinner parties (yes, really). Today, I’m sharing the exact method I use, along with the secret to that sticky, flavorful maple butter that takes these from good to legendary.
Why You’ll Love This Recipe
Look, I make a lot of breakfast dishes. I’ve tried the fluffy Japanese soufflé pancakes (too fragile), the keto almond flour ones (too crumbly), and the classic American diner style. But this recipe? This is the sweet spot. Here’s why it’s become a permanent fixture in my weekend rotation.
Actually Fluffy, Not Flat — Most pancake recipes fail because the batter gets overmixed or the leavening goes bad. I’ve tested this ratio extensively. The combination of baking soda and buttermilk creates immediate lift, resulting in pancakes that are tall, airy, and hold their structure without being dense. They stack beautifully.
The Maple Butter Secret — Plain butter is fine. But mixing it with a little maple syrup and a pinch of salt? That’s game-changing. It melts into the hot pancakes, creating a sticky, caramelized glaze that seeps into every nook and cranny. It’s rich, but not overwhelmingly sweet because the salt balances it out.
Pantry Staples Only — You don’t need to run to the store for this. Flour, sugar, baking powder, baking soda, salt, eggs, milk, buttermilk, butter. If you have these in your kitchen, you can make this. If you don’t have buttermilk, I’ll show you how to make a quick substitute in seconds. This is a recipe that works even when you’re running on fumes.
Quick and Forgiving — From mixing to plate, this takes about 20 minutes. And it’s incredibly forgiving. If your batter is a little lumpy? Perfect. If your pancakes are a slightly darker golden brown? Even better. This isn’t a high-maintenance recipe; it’s a reliable friend.
I make these when I want to feel cozy. I make these when I have guests over and want to impress without spending hours in the kitchen. And I make these when I just need a little comfort in a warm plate. It’s that simple.
Ingredients You’ll Need
Here’s the good news: you probably have 90% of these items already. I’m particular about a few things, but for the most part, this is simple, honest food. Here’s exactly what you need and why it matters.
For the Pancakes
All-Purpose Flour (1 ½ cups / 190g) — This is your base. Don’t try to swap in whole wheat unless you want denser pancakes. All-purpose gives that classic tender crumb. If you’re gluten-free, a 1:1 gluten-free flour blend works well, though the texture will be slightly different.
Sugar (2 tablespoons / 25g) — Just a little bit. It helps with browning and adds a hint of sweetness, but these aren’t dessert pancakes. They’re breakfast. Don’t skip it, though; it helps the Maillard reaction (browning) happen faster.
Baking Powder (2 teaspoons) — The main leavening agent. Make sure it’s fresh! If your baking powder is older than six months, it might not have enough punch, and your pancakes will be flat. I keep a fresh can in my pantry specifically for this.
Baking Soda (½ teaspoon) — This reacts with the acid in the buttermilk to create bubbles. It gives that extra lift and helps with browning. You need both baking powder and soda for the best texture.
Salt (½ teaspoon) — Crucial. It enhances the flavor of the flour and butter. Without salt, pancakes taste flat and doughy. Don’t be shy with the salt.
Eggs (2 large) — Room temperature eggs mix into the batter more evenly. If you’re in a rush, just crack them into a bowl and let them sit for 10 minutes while you prep the dry ingredients.
Buttermilk (1 ¼ cups / 300ml) — This is the star. The acidity tenderizes the gluten in the flour, making the pancakes soft. If you don’t have buttermilk, make your own: add 1 tablespoon of white vinegar or lemon juice to a measuring cup, then fill the rest with regular milk. Let it sit for 5-10 minutes until it curdles slightly. It’s not perfect, but it works.
Melted Butter (3 tablespoons / 45g) — Adds richness and flavor. Let it cool slightly before adding so it doesn’t cook the eggs. I use unsalted butter here so I can control the salt level.
For the Maple Butter
Unsalted Butter (½ cup / 115g) — Again, unsalted is key so you can control the saltiness.
Maple Syrup (2 tablespoons) — Real maple syrup, not “pancake syrup” or “table syrup” made from corn syrup. Check the label. Real maple syrup has a complex, woody sweetness that pairs perfectly with the butter. If you’re on a budget, a mix of half real maple, half corn syrup works, but pure is best.
Salt (¼ teaspoon) — Flaky sea salt if you have it, but regular table salt works fine. The salt cuts through the richness of the butter.
Vanilla Extract (½ teaspoon) — Optional, but it adds a nice depth of flavor. I always keep a bottle of pure vanilla on hand.
Equipment Needed
You don’t need a fancy electric griddle, though it helps. Here’s what I actually use in my home kitchen.
Large Non-Stick Skillet or Griddle — I use a 12-inch non-stick skillet. It’s versatile and easy to clean. If you have a flat electric griddle, that’s even better because you can cook more pancakes at once. Just make sure it heats evenly.
Mixing Bowls — Two medium bowls. One for dry ingredients, one for wet. Don’t skip this step; mixing wet and dry separately prevents overmixing.
Whisk — A standard wire whisk is fine. I use it to aerate the dry ingredients and blend the wet ones smoothly.
Measuring Cups and Spoons — Be precise with the flour. Scoop and level, don’t pack it down. Too much flour is the #1 reason for dense pancakes.
Spatula — A flexible silicone spatula is best for flipping without tearing the pancakes. I also like a small offset spatula for spreading the maple butter.
Small Saucepan — For melting the maple butter. Or you can just microwave it in a microwave-safe bowl for 30 seconds. Your call.
How to Make It: Step-by-Step
Alright, let’s get cooking. I’m walking you through exactly how I do it, including the little tricks I’ve picked up over the years. This process is straightforward, but timing is everything.
Step 1: Mix the Dry Ingredients (3 minutes)
In a large bowl, whisk together the flour, sugar, baking powder, baking soda, and salt. Whisking isn’t just for mixing; it aerates the flour, which helps with fluffiness. Make sure there are no clumps of baking powder, or you’ll get bitter bits in your pancakes. Set this aside.
Step 2: Combine the Wet Ingredients (2 minutes)
In a separate bowl, whisk the eggs until just combined. Then add the buttermilk, melted butter, and vanilla extract. Whisk until smooth and well incorporated. The butter should be warm, not hot, so it doesn’t scramble the eggs. If your buttermilk is cold, that’s fine; it actually helps keep the butter from melting completely into the mixture.
Step 3: Bring Them Together (1 minute)
Make a well in the center of the dry ingredients and pour in the wet mixture. Use a spatula or wooden spoon to gently fold the batter together. Stop mixing as soon as the dry flour disappears. The batter should be lumpy. I repeat: LUMPY. Overmixing develops gluten, which makes pancakes tough and chewy instead of tender. If you see streaks of flour, that’s okay. They’ll cook out.
Step 4: Let the Batter Rest (5-10 minutes)
This is the step most people skip, but it’s crucial. Let the batter sit for 5-10 minutes. This gives the flour time to hydrate and the baking powder time to start working. You’ll see tiny bubbles form on the surface. Don’t stir it after resting; just scoop from the top.
Step 5: Heat the Pan
Place your skillet or griddle over medium heat. Let it warm up for 2-3 minutes. To test if it’s ready, flick a few drops of water onto the surface. If they sizzle and evaporate, it’s ready. If they dance around and bead up, it’s perfect. If they just sit there, it’s not hot enough yet. Lightly grease the pan with butter or oil. I prefer butter for flavor, but it burns faster, so wipe it around with a paper towel to avoid black spots.
Step 6: Cook the Pancakes
Pour about ¼ cup of batter onto the pan for each pancake. Don’t crowd the pan; give them space to spread. Cook for 2-3 minutes. Watch for bubbles. When the surface is covered in bubbles and the edges look set and slightly dry, it’s time to flip. This is the universal sign. Flip gently with a spatula.
Step 7: Finish Cooking
Cook the other side for 1-2 minutes until golden brown. They should be firm to the touch. If they’re still soft in the middle, they need a minute more. Transfer to a plate and keep warm in a 200°F (95°C) oven while you cook the rest. Repeat with the remaining batter, greasing the pan lightly between batches.
Step 8: Make the Maple Butter
While the pancakes cook, melt the butter in a small saucepan over low heat. Stir in the maple syrup, vanilla, and salt. Let it warm through for 1-2 minutes. It should be liquid and fragrant. Keep it warm in a small bowl or jug for easy pouring.
Expert Tips & Tricks
Here’s everything I’ve learned from making this recipe dozens of times. These tips will save you from my early mistakes.
The Bubble Rule is Law — I cannot stress this enough. Wait for the bubbles. Many people flip too early, resulting in a raw center. If the bubbles pop and don’t close back up, wait a few more seconds. The edges should look cooked, not shiny and wet.
Don’t Press the Pancakes — When you flip, don’t press down with your spatula. You’re squeezing out the air bubbles that made them fluffy. Let them be gentle and light.
Keep Them Warm Properly — If you’re making a batch for a family, stack them on a baking sheet in a low oven (200°F/95°C). Don’t cover them with foil tightly, or they’ll steam and get soggy. A loose tent of foil or just leaving them uncovered is best.
Control the Heat — If your pancakes are burning on the outside but raw inside, your heat is too high. Lower it. If they’re pale and take forever to cook, turn it up slightly. Medium is usually the sweet spot, but every stove is different.
Use Real Butter for Cooking — Oil works, but butter adds flavor. Just be careful not to let it burn. If you’re using a non-stick pan, you might not need much fat at all.
Variations & Substitutions
Once you’ve nailed the basic version, here’s how you can mix it up. I’ve tried all of these, and they’re all winners.
Berry Pancakes — Toss fresh blueberries or raspberries into the batter just before cooking. Don’t mix them in too vigorously, or they’ll bleed color everywhere. I love adding them to the pan right after pouring the batter.
Chocolate Chip Pancakes — Sprinkle mini chocolate chips on top of the batter right after you pour it into the pan. They melt beautifully into the top. I use semi-sweet chocolate chips for a balanced sweetness.
Banana Pancakes — Mash one ripe banana and fold it into the batter. Reduce the sugar in the recipe by half since the banana adds sweetness. These are denser and more moist.
Gluten-Free — Use a 1:1 gluten-free flour blend. The texture will be slightly more tender and less chewy. You might need to add an extra splash of buttermilk if the batter seems too thick.
Dairy-Free — Use dairy-free milk (oat or almond work well) and replace the butter with coconut oil or a dairy-free butter alternative. The maple butter can be made with dairy-free butter and maple syrup.
Vegan — Use flax eggs (1 tablespoon ground flaxseed mixed with 3 tablespoons water per egg) and dairy-free milk/butter. The texture will be slightly different, but still delicious.
Serving & Storage
How to serve these bad boys? Here’s my preferred way.
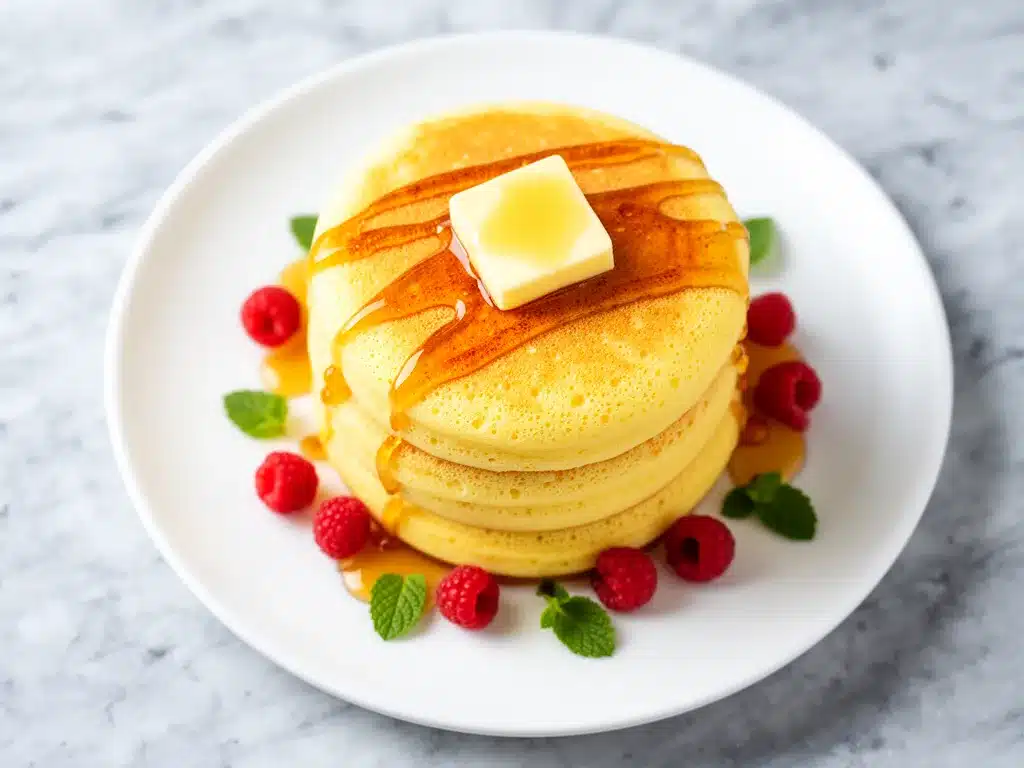
The Stack — I like to stack three or four pancakes high. Drizzle generously with the maple butter. The butter should pool in the crevices. Add a dusting of powdered sugar if you want to be fancy, but I find it unnecessary with the maple butter.
Side Dishes — These pair perfectly with crispy bacon or sausage links. If you want something lighter, serve with fresh fruit or a simple green salad. For a complete breakfast, I often serve these with a side of healthy green apple spinach smoothie to balance out the richness. It’s a great way to add some veggies to the morning meal.
Leftovers — Store leftover pancakes in an airtight container in the fridge for up to 3 days. Reheat them in a toaster or a 350°F (175°C) oven for 5-10 minutes. They won’t be quite as fluffy as fresh, but they’re still good.
Freezing — You can freeze pancakes! Stack them with parchment paper in between and freeze in a bag for up to 2 months. Reheat in the toaster. This is great for meal prep on Sunday for busy weeknights.
Nutrition Information
I’m not a nutritionist, but here’s the breakdown if you’re tracking. Keep in mind that these are estimates and can vary based on exact ingredients used.
Per Serving (based on 12 pancakes, 2 pancakes per serving):
- Calories: 280
- Protein: 7g
- Carbs: 35g
- Fiber: 1g
- Sugar: 8g
- Fat: 12g
- Saturated Fat: 7g
- Sodium: 320mg
What’s Good:
– Decent protein from eggs and buttermilk
– Calcium from the dairy
– Satisfying and filling
What to Know:
– Higher in carbs and sugar from the flour and syrup
– Contains dairy and gluten
– The maple butter adds extra fat and sugar, so use sparingly if watching calories
My Take:
Look, these are weekend pancakes. They’re meant to be enjoyed. Yes, they have sugar and butter. But they’re also made with simple, recognizable ingredients. When I make these, I don’t think about calories; I think about the joy of a slow morning. Just enjoy a reasonable portion and savor it.
Final Thoughts
So that’s my go-to fluffy buttermilk pancake recipe! I’ve probably talked your ear off at this point, but when you make a recipe this often, you have a lot to say about it. These pancakes have saved lazy mornings and impressed dinner guests. They’re my answer to “what’s for breakfast” when I want something special but don’t want to spend all day cooking.
Make it yours! Try different berries, swap in your favorite syrup, or adjust the sweetness. The best recipes are the ones you adapt to your family’s tastes. And if you want to try something different for a snack later, these apple peanut butter energy bites are a great no-bake option that uses similar flavors.
If you make this, drop a comment and let me know what you think! I love hearing how recipes turn out in your kitchen. And if something doesn’t work, tell me that too—I’m here to help troubleshoot. Happy cooking! And I hope your kitchen smells half as good as mine does right now.
Frequently Asked Questions
Q: Can I use milk instead of buttermilk?
A: You can, but the pancakes won’t be as fluffy or tangy. If you must use regular milk, add 1 tablespoon of vinegar or lemon juice per cup of milk and let it sit for 5-10 minutes. This creates a DIY buttermilk. It’s not perfect, but it’s much better than plain milk.
Q: Why are my pancakes flat?
A: Usually, this means your leavening agents (baking powder/soda) are old, or you overmixed the batter. Make sure your baking powder is fresh. Also, stop mixing as soon as the flour disappears. Lumps are good!
Q: Can I make the batter ahead of time?
A: It’s best to cook them fresh. Batter loses its lift over time. If you must prep ahead, mix the dry and wet ingredients separately and store them in the fridge. Combine them right before cooking. Don’t let the mixed batter sit for more than 15 minutes.
Q: How do I keep pancakes warm for a crowd?
A: Preheat your oven to 200°F (95°C). Place cooked pancakes on a baking sheet in a single layer. They will stay warm for up to 30 minutes without getting soggy. Don’t stack them while they’re hot, or steam will make them soft.
Q: Can I freeze leftover pancakes?
A: Yes! Let them cool completely, then stack them with parchment paper in between. Place them in a freezer-safe bag or container. They’ll last up to 2 months. Reheat in a toaster for best results.
Q: Why did my pancakes burn?
A: Your heat was probably too high. Buttermilk burns faster than regular milk because of the sugar content. Lower your heat to medium-low and give the pan more time to heat up evenly.
Q: Can I add chocolate chips to the batter?
A: Yes, but I recommend sprinkling them on top of the batter after you pour it into the pan. This prevents them from sinking to the bottom and ensures they’re distributed evenly.
Pin This Recipe!
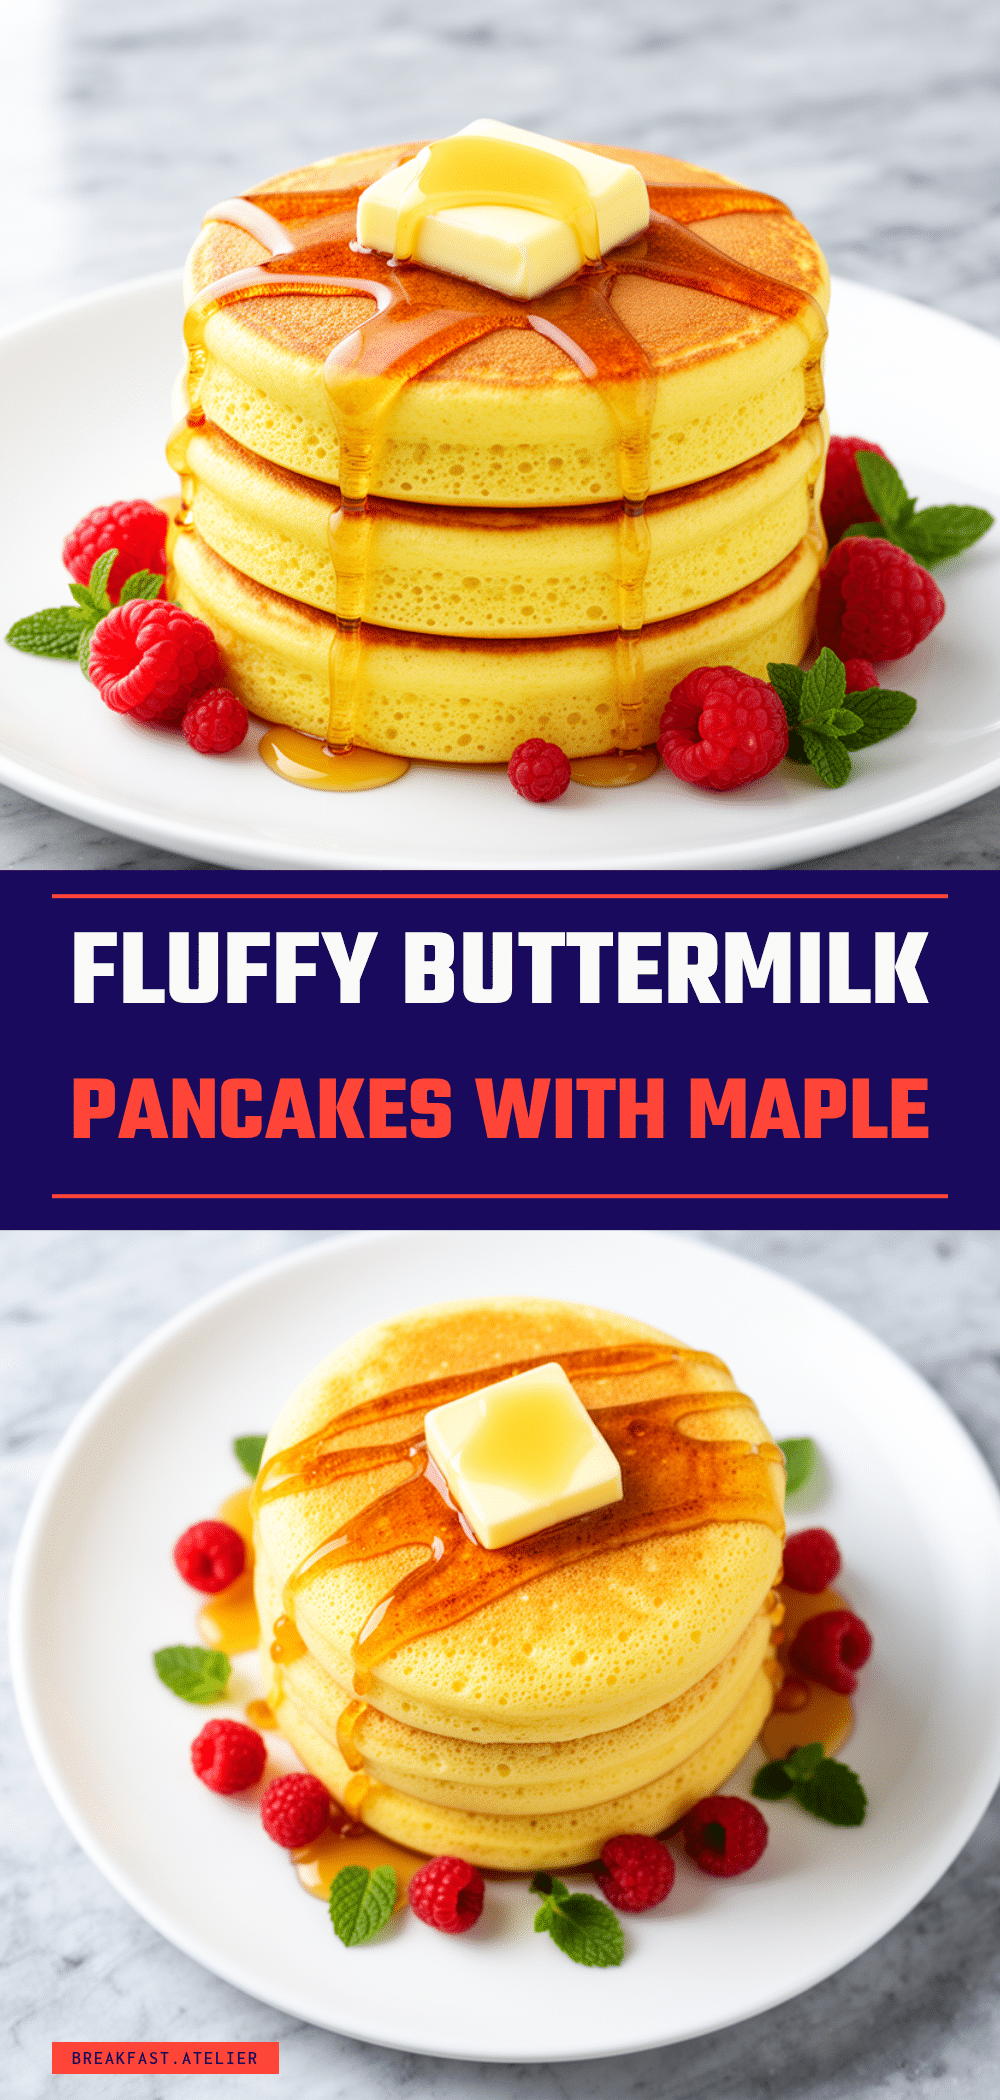
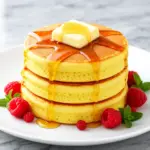
Fluffy Buttermilk Pancakes: Easy Weekend Breakfast
- Total Time: 20 minutes
- Yield: 12 pancakes (6 servings) 1x
Description
These fluffy buttermilk pancakes are the perfect weekend breakfast, featuring a tender crumb and tall structure thanks to fresh leavening and proper mixing techniques. Served with a rich, homemade maple butter, they offer a nostalgic and delicious start to any morning.
Ingredients
- 1 ½ cups (190g) All-Purpose Flour
- 2 tablespoons (25g) Sugar
- 2 teaspoons Baking Powder
- ½ teaspoon Baking Soda
- ½ teaspoon Salt
- 2 large Eggs, room temperature
- 1 ¼ cups (300ml) Buttermilk
- 3 tablespoons (45g) Melted Butter, cooled slightly
- ½ teaspoon Vanilla Extract
- ½ cup (115g) Unsalted Butter (for maple butter)
- 2 tablespoons Maple Syrup (for maple butter)
- ¼ teaspoon Salt (for maple butter)
- Butter or oil for greasing the pan
Instructions
- In a large bowl, whisk together the flour, sugar, baking powder, baking soda, and salt to aerate and remove clumps.
- In a separate medium bowl, whisk the eggs until combined. Add the buttermilk, melted butter, and vanilla extract, whisking until smooth.
- Create a well in the dry ingredients and pour in the wet mixture. Gently fold together with a spatula or wooden spoon until just combined; the batter should remain lumpy. Do not overmix.
- Let the batter rest for 5-10 minutes to allow the flour to hydrate and bubbles to form.
- Heat a large non-stick skillet or griddle over medium heat. Test readiness by flicking water drops onto the surface; they should sizzle and bead up. Lightly grease with butter or oil.
- Pour about ¼ cup of batter onto the pan for each pancake. Cook for 2-3 minutes until the surface is covered in bubbles and edges look set.
- Flip gently with a spatula and cook the other side for 1-2 minutes until golden brown and firm to the touch.
- Transfer cooked pancakes to a plate and keep warm in a 200°F (95°C) oven while cooking the rest.
- While pancakes cook, melt the ½ cup butter in a small saucepan over low heat. Stir in maple syrup, vanilla, and salt. Warm through for 1-2 minutes and keep warm for serving.
Notes
Do not overmix the batter; lumps are acceptable and ensure fluffy pancakes. Use fresh baking powder for best rise. If you don’t have buttermilk, make a substitute by adding 1 tablespoon of vinegar or lemon juice to milk and letting it sit for 5-10 minutes. Keep cooked pancakes warm in a 200°F oven without stacking them tightly to avoid sogginess.
- Prep Time: 10 minutes
- Cook Time: 10 minutes
- Category: Breakfast
- Cuisine: American
Nutrition
- Serving Size: 2 pancakes per servi
- Calories: 280
- Sugar: 8
- Sodium: 320
- Fat: 12
- Saturated Fat: 7
- Carbohydrates: 35
- Fiber: 1
- Protein: 7
Keywords: buttermilk pancakes, fluffy pancakes, weekend breakfast, maple butter, easy pancake recipe, homemade pancakes