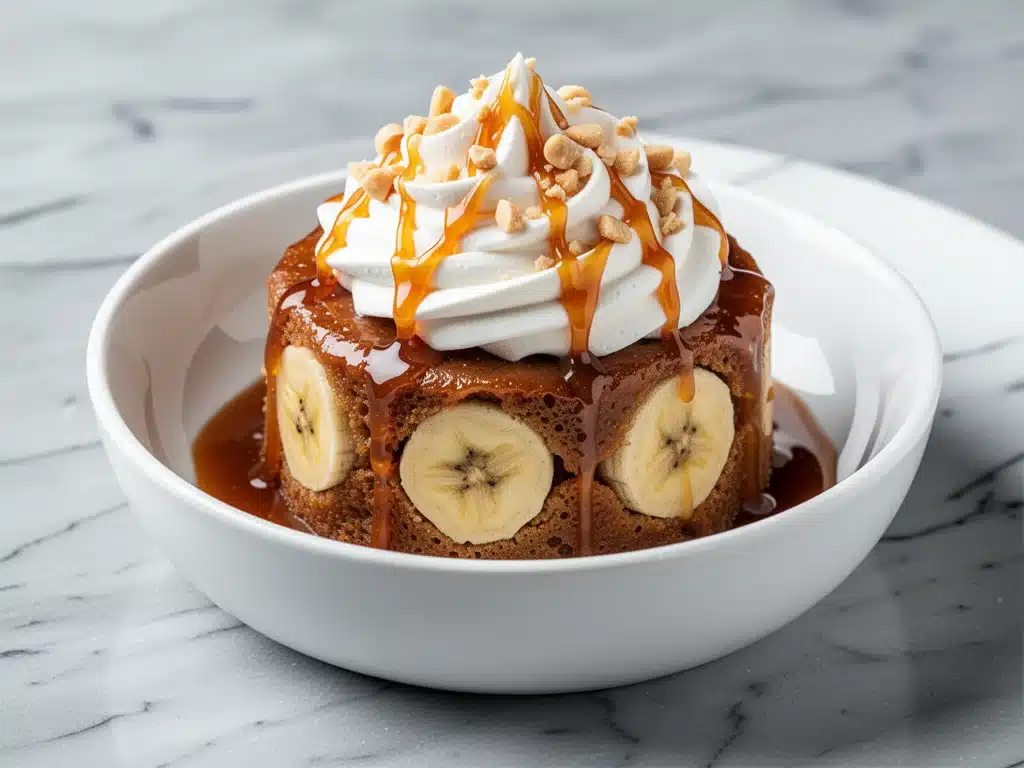
I have a confession to make. Last Sunday, I was supposed to be meal-prepping for the week. You know the drill: chopping veggies, portioning out grains, looking productive. Instead, I ended up standing in my kitchen at 8 PM, staring at three overripe bananas and a half-empty jar of caramel sauce, wondering if I should just order pizza. Again.
But then I remembered a recipe I’d been tinkering with for months. It’s this gooey sticky toffee banana pudding cake that sounds like a dessert experiment gone wrong but tastes like pure comfort. I threw the ingredients into a bowl—no mixer, no fancy techniques—and baked it. What came out of the oven was a disaster in the best way possible. The top was crisp, the middle was molten caramel and banana heaven, and the smell filled the entire house.
My kids walked in, saw the mess, and asked if we were having cake for dinner. (We are. Don’t judge me.) I’ve made this gooey sticky toffee banana pudding cake probably fifteen times since that night, tweaking the ratios until the caramel pools perfectly and the bananas stay moist without turning mushy. It’s become my secret weapon for impressing guests without spending hours in the kitchen. It’s messy, it’s rich, and it’s hands-down the best easy dessert I’ve ever made.
If you’re tired of dry cakes or complicated desserts that require twenty ingredients, this one is for you. It’s basically a cross between a sticky date pudding and a banana bread, but with way more toffee. Let’s get into why this might just become your new favorite weekend treat.
Why You’ll Love This Gooey Sticky Toffee Banana Pudding Cake
There are about ten reasons I keep making this dessert, but here are the big ones. This isn’t just another banana bread recipe—it’s a full-blown indulgence that feels fancy but is incredibly forgiving to make.
Stupid Simple — Seriously, if you can mash a banana and pour syrup, you can make this. I’ve walked my teenage son through it over FaceTime while he was at college. No electric mixer needed. Just a bowl and a whisk.
Molten Magic — The best part? That gooey center. Unlike a standard cake that’s uniform throughout, this pudding cake has layers of texture. You get the soft sponge, the sweet banana chunks, and then that pool of warm toffee sauce that oozes out when you scoop it. It’s restaurant-quality drama on a plate.
Pantry-Friendly — You probably have most of this already. Bananas (hopefully the brown ones), butter, sugar, flour, and whatever caramel or toffee sauce you have lying around. I usually keep a jar of store-bought caramel for emergencies like this, but homemade works too.
Crowd-Pleaser — I’ve served this to my picky eater nephew, my food-snob sister, and a bunch of friends who claim they “don’t like sweet things.” Everyone came back for seconds. The toffee flavor is rich but not cloying, and the banana adds a familiar comfort note.
Make-Ahead Friendly — You can mix the batter ahead of time and refrigerate it overnight. Then, when guests arrive, you just pop it in the oven. It’s perfect for last-minute dinner parties or when you want to enjoy a sweet treat without the stress.
This is my go-to when I need dessert to just work. No complicated techniques, no weird ingredients, just reliable, delicious food that makes everyone happy. And the best part? It tastes even better the next day, warmed up with a scoop of vanilla ice cream.
Ingredients You’ll Need
Here’s the best part: you probably have most of this already. This looks like a long list, but most of it is pantry basics. I’m particular about three ingredients here, and I’ll tell you exactly why.
Bananas (3 large, ripe / about 300g) — I’m talking black-skinned ripe. The spottier, the sweeter. These provide the natural sweetness and moisture. If they’re yellow, they’ll lack that deep banana flavor. Mash them well.
Butter (½ cup / 115g, melted) — Use unsalted butter so you can control the salt. I melt it in the microwave—takes 30 seconds. Don’t use oil; you need that buttery richness for the cake base.
Granulated Sugar (¾ cup / 150g) — This gives the top its crisp, caramelized crust. Brown sugar works too if you want a deeper molasses flavor, but white sugar gives that classic sticky toffee crunch.
Self-Rising Flour (1 cup / 125g) — If you don’t have self-rising, use 1 cup all-purpose flour plus 1 ½ teaspoons baking powder and ¼ teaspoon salt. I always use self-rising because it’s faster.
Vanilla Extract (1 teaspoon) — Pure vanilla, not imitation. It rounds out the banana and toffee flavors. Don’t skip it.
Eggs (2 large) — Room temperature eggs mix better. If you’re in a hurry, just crack them into a bowl of warm water for 5 minutes.
Milk (¼ cup / 60ml) — Any milk works. Whole milk makes it richer, but skim is fine if you’re watching calories. It adds moisture to the batter.
Caramel or Toffee Sauce (1 cup / 240ml) — This is the star. I use store-bought caramel sauce (like Nestle Toll House or a local brand) for convenience, but you can make your own. The key is to have enough to create that gooey layer.
Whipped Cream or Ice Cream (for serving) — Optional but highly recommended. The cold contrast against the warm cake is everything.
Pinch of Salt — If you’re using salted butter or regular flour, add a pinch to balance the sweetness.
Personal Tips
- Brand Recommendations: I love using cozy fall sticky toffee date pudding techniques for the sauce, but store-bought caramel is a huge time-saver here. For bananas, I always check for black spots—those are the sweet ones.
- Shopping Shortcuts: Buy pre-mashed bananas if you’re lazy, but fresh tastes better. I usually let my bananas sit on the counter until they’re almost black.
- Substitutions: No toffee sauce? Use dulce de leche. It’s thicker but tastes similar. You might need to thin it with a little milk.
- Storage: Keep leftover cake in an airtight container in the fridge for up to 3 days. Reheat in the microwave for 30 seconds before serving.
Equipment Needed
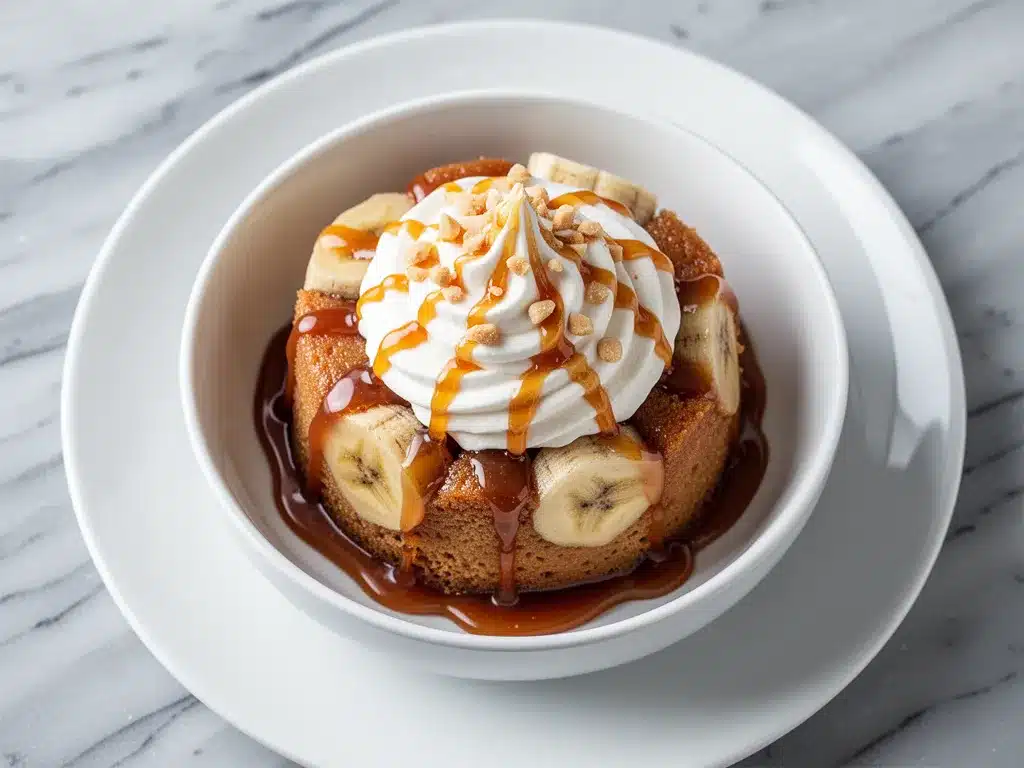
You don’t need fancy equipment for this. Here’s what I actually use.
9-inch Square Baking Pan — I use a glass Pyrex pan. It heats evenly and I can see the browning on the sides. Metal pans work too, but glass is easier to clean.
Mixing Bowl — A large bowl, about 3-4 quarts. Enough to mix the batter without making a mess.
Whisk — For mixing the wet and dry ingredients. A fork works in a pinch, but a whisk is faster.
Fork or Potato Masher — For mashing the bananas. A fork gives you more control over the texture.
Spatula — For scraping the bowl and spreading the caramel sauce.
Measuring Cups and Spoons — Standard stuff. Dollar store versions work fine.
Oven — Obviously. Preheat to 350°F (175°C).
Tool Tips
- Don’t have a square pan? A 9-inch round cake pan works, but the baking time might be slightly shorter. Check it 5 minutes early.
- I’m obsessed with my glass baking dishes because they’re durable and easy to clean. Metal pans can get sticky caramel stuck in the corners.
How to Make It: Step-by-Step
Alright, let’s make this! I’m walking you through exactly how I do it, including the little tricks I’ve picked up.
Step 1: Prep Your Oven and Pan (5 minutes)
Preheat your oven to 350°F (175°C). Grease your 9-inch square baking pan with butter or non-stick spray. I like to line the bottom with parchment paper for easy removal, but it’s not strictly necessary if you’re good with greasing.
Step 2: Mash the Bananas (2 minutes)
In your mixing bowl, mash the ripe bananas with a fork until they’re mostly smooth with a few small chunks. You want about 1 ½ cups of mashed banana. Don’t over-mash into a paste; a little texture is nice.
Step 3: Mix the Wet Ingredients (3 minutes)
Add the melted butter, sugar, eggs, vanilla, and milk to the mashed bananas. Whisk everything together until well combined. The mixture will look a bit curdled at first—that’s normal. Keep whisking until it’s smooth.
Step 4: Add the Dry Ingredients (2 minutes)
Add the self-rising flour (or your homemade baking powder mix) to the wet ingredients. Gently fold it in with a spatula or whisk until just combined. Don’t overmix! You want a thick, lumpy batter. Overmixing makes the cake tough.
Step 5: Pour into Pan and Add Caramel (2 minutes)
Pour the batter into the prepared baking pan and spread it out evenly. Now, the fun part: drizzle the caramel or toffee sauce over the top. Use a spoon to create swirls and pockets. Don’t stir it in yet. You want distinct layers of cake and sauce.
Step 6: Bake (35-40 minutes)
Place the pan in the preheated oven. Bake for 35-40 minutes. The cake is done when the top is golden brown and a toothpick inserted into the cakey part (not the sauce) comes out clean. The edges should be bubbling with caramel.
Step 7: Cool and Serve (10 minutes)
Let the cake cool in the pan for 10 minutes. This allows the caramel to set slightly so it doesn’t run everywhere. Slice it into squares and serve warm. Top with whipped cream or vanilla ice cream if you’re feeling fancy.
Total Time: About 50 minutes (10 minutes prep, 35-40 minutes baking)
Expert Tips & Tricks
Here’s everything I’ve learned from making this dozens of times. These tips will save you from my mistakes.
Use Ripe Bananas
This is the #1 tip. Brown-spotted or black bananas are sweeter and easier to mash. Green bananas will make your cake taste bland and dry. I keep a bag of bananas on my counter until they’re almost black, then freeze them if I can’t use them fast enough.
Don’t Skip the Swirls
When adding the caramel, don’t just pour it on top. Use a knife or skewer to swirl it into the batter. This creates pockets of toffee throughout the cake, not just a layer on top. It makes every bite interesting.
Check Early
Ovens vary. Start checking at 30 minutes. If the top is browning too fast, tent it with aluminum foil. The goal is a golden brown top, not burnt.
Room Temperature Eggs
Room temperature eggs blend better into the batter. If you forget, just crack them into a bowl of warm water for 5 minutes. Cold eggs can cause the batter to separate.
Serve Warm
This cake is best served warm. If you serve it cold, the caramel hardens and loses its gooey magic. Reheat slices in the microwave for 20-30 seconds before serving.
Common Mistakes (and how to avoid them)
- Mistake: Cake is dry — Fix: You overbaked it. Check at 30 minutes. Also, ensure your bananas are ripe.
- Mistake: Caramel is too runny — Fix: Let it cool longer. The caramel thickens as it cools.
- Mistake: Top is burnt — Fix: Tent with foil. Or lower the oven temperature by 25°F.
Pro Tricks I’ve Learned
- For Extra Flavor — Add a pinch of cinnamon to the batter. It pairs beautifully with banana and toffee.
- For Better Texture — Fold in some chopped pecans or walnuts. They add crunch and contrast.
- Make-Ahead Strategy — Make the batter ahead and refrigerate. Bake fresh when needed. The caramel might sink a bit, but it’s still delicious.
Variations & Substitutions
Once you’ve nailed the basic version, here’s how you can mix it up. I’ve tried all of these.
Tested Variations
Chocolate Chip Version
Add ½ cup chocolate chips to the batter. The chocolate and banana are a classic combo. This is my kids’ favorite variation.
Maple Walnut
Swap the caramel sauce for maple syrup and add ½ cup chopped walnuts. It’s less sweet and more earthy. Great for fall.
Coconut Lovers
Use coconut milk instead of regular milk and top with toasted coconut flakes. It’s tropical and delicious.
Mini Cakes
Divide the batter into 6 muffin tins and bake for 20-25 minutes. Perfect for individual portions or potlucks.
Dietary Modifications
Gluten-Free
Use gluten-free self-rising flour or a 1:1 gluten-free flour blend. Everything else is naturally gluten-free.
Dairy-Free
Use plant-based butter and milk. For the caramel, use a dairy-free caramel sauce (like Trader Joe’s or homemade with coconut cream). It’s still gooey and delicious.
Lower Sugar
Reduce the granulated sugar to ½ cup and use unsweetened caramel sauce. It’s less sweet but still flavorful.
Vegan
Use flax eggs (1 tbsp ground flaxseed + 3 tbsp water per egg) and plant-based butter/milk. Use vegan caramel. It holds together well.
Different Flavors
- Swirl in Nutella instead of caramel for a hazelnut twist.
- Add a layer of peanut butter between the cake and caramel for a Reese’s vibe.
- Top with crushed Oreos for a s’mores effect.
Serving & Storage
I usually serve this straight from the pan at the dinner table—it looks rustic and stays warm. But here are other ways I’ve enjoyed it:
How to Serve
- With Ice Cream: Vanilla bean ice cream is the classic pairing. The cold melts into the warm cake.
- With Whipped Cream: Homemade whipped cream is light and airy. Add a drizzle of caramel on top.
- With Coffee: This pairs well with a strong black coffee or latte. It’s not too sweet to balance the bitterness.
Side Dishes
- Simple fruit salad to cut the richness.
- Caesar salad if you’re serving it for brunch.
- Nothing else. It’s a dessert, after all.
Storage Instructions
Refrigerator:
Store in an airtight container for up to 3 days. The cake will firm up in the fridge. Let it come to room temperature or reheat before serving.
Reheating:
Best method: Microwave for 20-30 seconds. This melts the caramel and warms the cake.
Oven method: Warm at 300°F for 10 minutes. This keeps the texture better but takes longer.
Freezing:
You can freeze the baked cake for up to 2 months. Wrap tightly in plastic wrap and foil. Thaw overnight in the fridge and reheat before serving. The texture might be slightly different, but it’s still good.
Pro tip: If leftovers are drying out, add a splash of milk or cream when reheating. It brings back the moisture.
Nutrition Information
I’m not a nutritionist, but here’s the breakdown if you’re tracking.
Per Serving (based on 8 servings):
- Calories: 380
- Protein: 5g
- Carbs: 55g
- Fiber: 2g
- Sugar: 35g
- Fat: 16g
- Saturated Fat: 8g
- Cholesterol: 45mg
- Sodium: 220mg
What’s Good:
- Bananas provide potassium and natural sweetness.
- It’s a one-bowl dessert, so less waste.
- Can add nuts for extra protein and healthy fats.
What to Know:
- Higher in sugar from the caramel and sugar.
- Contains dairy and gluten.
- Calorie-dense due to butter and caramel.
My Take:
Look, this is comfort food with caramel and bananas. It’s not a diet recipe. But it’s way better than store-bought cake, costs less, and I know exactly what’s in it. When I want to make it lighter, I use less caramel and add nuts. But usually? I just eat a square and enjoy it.
Final Thoughts
So that’s my go-to gooey sticky toffee banana pudding cake! I’ve probably talked your ear off at this point, but when you make a recipe this often, you have a lot to say about it.
This has saved dessert nights more times than I can count. It’s my answer to “what’s for dessert” when I’m tired, don’t want to bake a complicated cake, and still want something that tastes really good. My kids are happy, my husband’s happy, and I’m happy because I’m not stressed about cooking.
Make it yours! Try different add-ins, swap in your favorite nuts, adjust the caramel amount. The best recipes are the ones you adapt to your family’s tastes. If you’re looking for other easy dessert ideas, check out my fall apple cider doughnut cake for another simple, seasonal treat.
If you make this, drop a comment and let me know what you think! I love hearing how recipes turn out in your kitchen. And if something doesn’t work, tell me that too—I’m here to help troubleshoot.
Happy cooking! And I hope your kitchen smells half as good as mine does right now.
Frequently Asked Questions
Q: Can I use fresh caramel instead of store-bought?
A: Absolutely! Homemade caramel is delicious. Just make sure it’s cooled slightly so it’s thick enough to swirl but still liquid enough to pour. If it’s too thick, warm it up gently in the microwave for 10 seconds.
Q: Why did my cake turn out dense?
A: Usually means you overmixed the batter. Once you add the flour, mix until just combined. Also, ensure your baking powder is fresh. If it’s old, it won’t rise properly.
Q: Can I make this in a loaf pan?
A: Yes! Use a 9×5 loaf pan and bake for 45-50 minutes. The center might take longer to cook, so check with a toothpick. The caramel might pool more at the bottom, which is fine.
Q: Can I freeze this cake?
A: Yes, wrap it tightly in plastic wrap and foil. It freezes well for up to 2 months. Thaw overnight in the fridge and reheat before serving.
Q: Is there a way to make it less sweet?
A: Reduce the granulated sugar to ½ cup and use unsweetened caramel or a sugar-free caramel sauce. You can also add a pinch of salt to balance the sweetness.
Q: Can I use overripe frozen bananas?
A: Yes! Thaw them completely and drain any excess liquid before mashing. Frozen bananas are actually sweeter and easier to mash, so they work great.
Q: How do I store leftovers?
A: Store in an airtight container in the fridge for up to 3 days. Reheat in the microwave for 20-30 seconds before serving to restore the gooey texture.
Pin This Recipe!
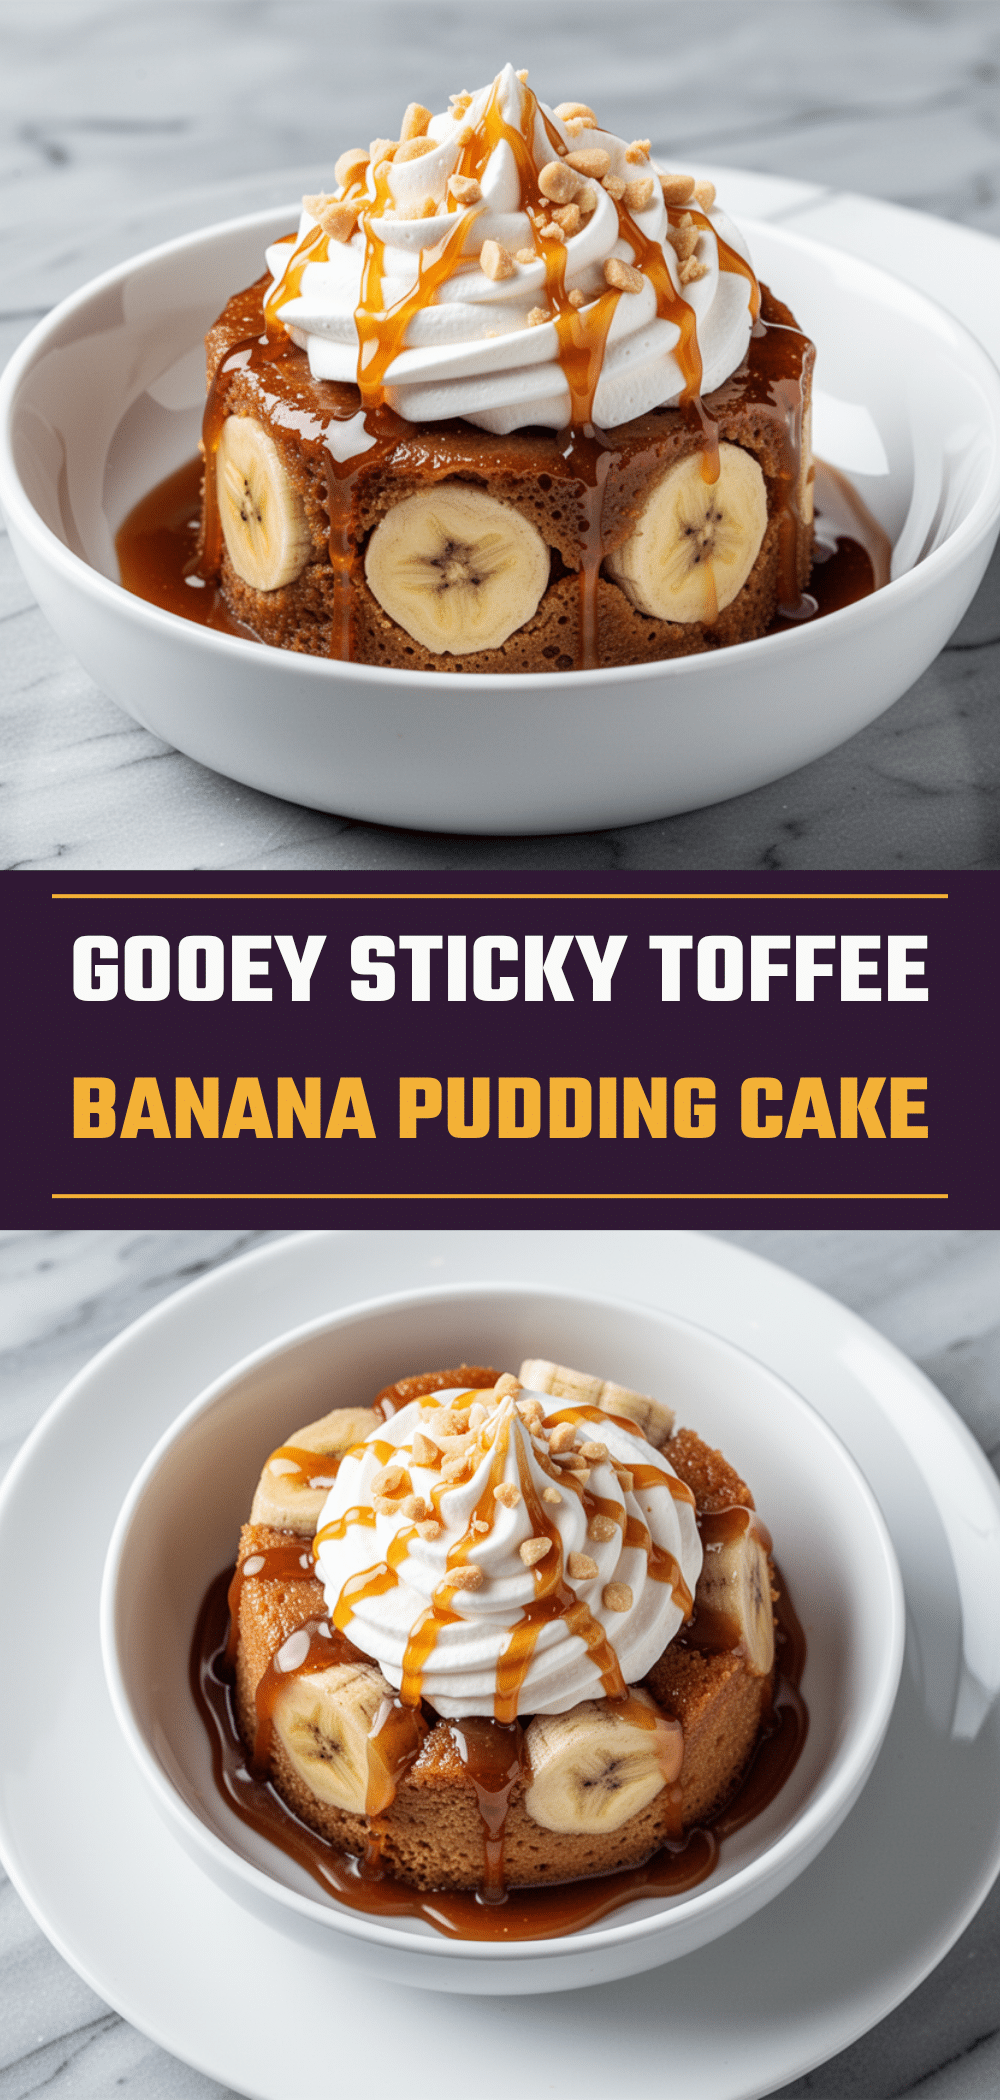
Gooey Sticky Toffee Banana Pudding Cake
- Total Time: 50 minutes
- Yield: 8 servings 1x
Description
A simple, one-bowl dessert that combines ripe bananas, buttery cake batter, and a gooey caramel toffee sauce. It features a crisp top, a moist middle, and a molten center, making it an easy yet impressive treat.
Ingredients
- 3 large ripe bananas (about 300g, black-skinned)
- 1/2 cup (115g) unsalted butter, melted
- 3/4 cup (150g) granulated sugar
- 1 cup (125g) self-rising flour (or 1 cup all-purpose flour + 1 1/2 tsp baking powder + 1/4 tsp salt)
- 1 teaspoon pure vanilla extract
- 2 large eggs, room temperature
- 1/4 cup (60ml) milk
- 1 cup (240ml) caramel or toffee sauce
- Pinch of salt (if using unsalted butter and all-purpose flour)
- Whipped cream or vanilla ice cream (for serving, optional)
Instructions
- Preheat oven to 350°F (175°C). Grease a 9-inch square baking pan and line the bottom with parchment paper for easy removal.
- In a large mixing bowl, mash the ripe bananas with a fork until mostly smooth with a few small chunks (about 1 1/2 cups).
- Add the melted butter, sugar, eggs, vanilla, and milk to the mashed bananas. Whisk until well combined and smooth.
- Add the self-rising flour to the wet ingredients. Gently fold in with a spatula or whisk until just combined. Do not overmix; the batter should be thick and slightly lumpy.
- Pour the batter into the prepared pan and spread evenly. Drizzle the caramel or toffee sauce over the top. Use a knife or skewer to swirl the sauce into the batter to create pockets of toffee.
- Bake for 35-40 minutes, or until the top is golden brown and a toothpick inserted into the cakey part (not the sauce) comes out clean. The edges should be bubbling.
- Let the cake cool in the pan for 10 minutes to allow the caramel to set slightly.
- Slice into squares and serve warm, topped with whipped cream or vanilla ice cream if desired.
Notes
Use very ripe, black-spotted bananas for maximum sweetness and moisture. Do not overmix the batter once flour is added to avoid a tough cake. For best texture, serve warm. Leftovers can be stored in an airtight container in the fridge for up to 3 days and reheated in the microwave for 20-30 seconds.
- Prep Time: 10 minutes
- Cook Time: 35-40 minutes
- Category: Dessert
- Cuisine: American
Nutrition
- Serving Size: 1 square
- Calories: 380
- Sugar: 35
- Sodium: 220
- Fat: 16
- Saturated Fat: 8
- Carbohydrates: 55
- Fiber: 2
- Protein: 5
Keywords: banana cake, sticky toffee pudding, caramel dessert, easy dessert, one-bowl cake, gooey cake, banana pudding cake, weekend treat


