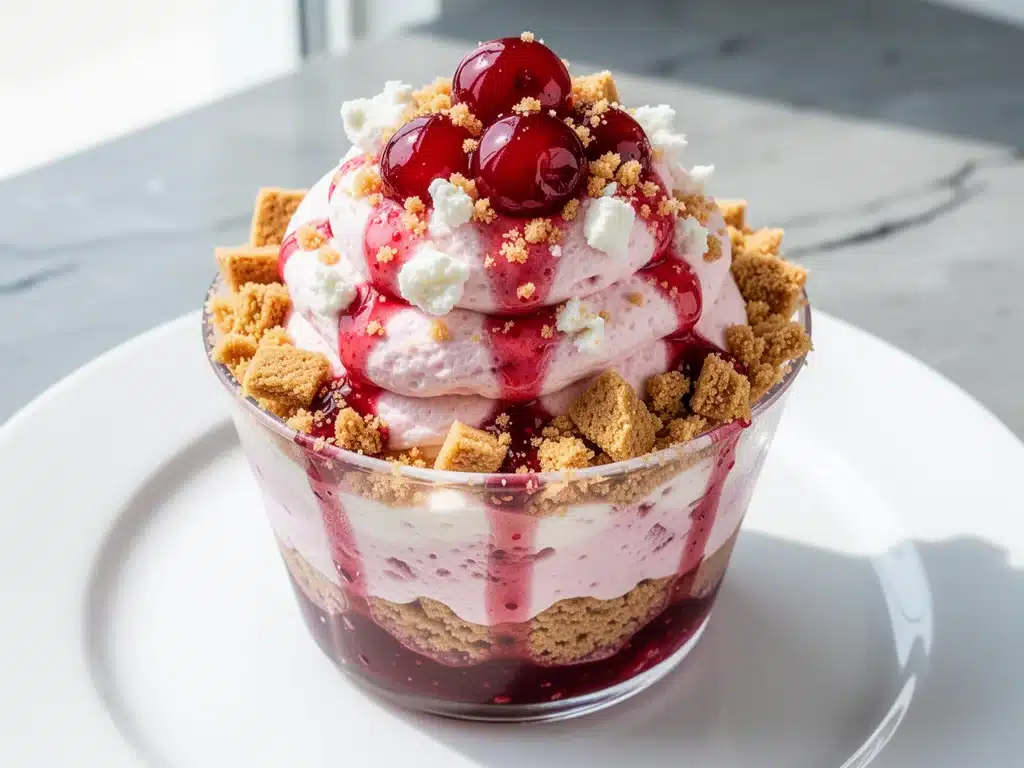
Last Saturday, I was staring at a half-empty pantry and a refrigerator that smelled faintly of old takeout containers. I had zero energy to bake. I didn’t want to heat up the oven, I didn’t want to deal with a dozen dirty bowls, and I definitely didn’t want to spend three hours waiting for a cake to cool. I just wanted something sweet, something creamy, and something that tasted like I actually tried, even though I hadn’t moved from the couch in an hour.
So I did what any tired adult does: I raided the fridge. I found a block of cream cheese, a tub of whipped topping, a can of cherry pie filling, and a sleeve of graham crackers. I thought, “Why not?” I dumped it all into a bowl, mixed it, crunched some crackers on top, and spooned it into little cups. I was expecting a disaster. I was expecting a sad, watery mess.
Instead, I got the best thing I’ve eaten all week.
These Ultra-Creamy Cherry Cheesecake Fluff Cups are not just a snack. They are a mood. They are the dessert equivalent of a warm hug on a rainy day. I made them on a whim, and by Sunday morning, I had to make a double batch because my kids had somehow devoured the first one in ten minutes flat. Now, whenever I need a dessert that’s better than takeout (and a lot cheaper), this is the first thing I reach for.
The texture is insane. It’s airy like a mousse, rich like a real cheesecake, and the tartness of the cherries cuts through the sweetness perfectly. Plus, because it’s no-bake, you don’t have to wait. You mix, you chill, you eat. It’s that simple. And honestly? It’s better than those fancy cheesecakes from the grocery store bakery that cost $8 a slice and taste like cardboard.
Why You’ll Love This Cherry Cheesecake Fluff Recipe
I’ve been making this recipe for about six months now, and it has officially replaced my standard dessert rotation. Here’s why it’s become my go-to when I need to impress guests or just satisfy a craving without the stress.
- Zero Baking Required — Seriously. If you can open a can and stir, you can make this. I’ve made these while on a video call with my mom. I didn’t even have to mute myself to explain what I was doing.
- Ready in 20 Minutes (Plus Chill Time) — The active time is literally 10 minutes. The rest is just waiting in the fridge. It’s perfect for last-minute dinner parties or when you need a dessert for tomorrow but don’t want to start until tonight.
- Pantry-Friendly Ingredients — You probably have half of this already. Cream cheese, sugar, whipped topping, graham crackers, and canned cherries. No specialty trips to the store. This is budget-friendly comfort food.
- Perfect Texture — Most no-bake cheesecakes are dense. This is fluff. It’s light. It melts in your mouth. The contrast between the creamy filling and the crunchy graham cracker crumble is what makes it addictive.
- Customizable — Hate cherries? Use blueberries. Love chocolate? Add cocoa powder. This recipe is a blank canvas. I’ve made it with strawberry jam, raspberry filling, and even mixed berry compote. All versions are winners.
- Make-Ahead Friendly — These actually taste better the next day. The flavors meld together, and the texture sets up perfectly. I make these on Sunday for the week ahead. They stay fresh in the fridge for up to 4 days.
It’s my answer to “what’s for dessert?” when I’m tired, broke, and lazy. No complicated techniques, no weird ingredients, just reliable, delicious food that makes everyone happy.
Ingredients You’ll Need
Here’s the best part: you probably have most of this already. This recipe relies on a few key ingredients that work together to create that signature fluff texture. I’m particular about a couple of these, and I’ll tell you exactly why.
For the Fluff Filling
Full-fat cream cheese (8 oz / 225g, softened) — This is the base. Do not use low-fat or fat-free. It won’t set right, and it’ll taste watery. Let it sit on the counter for 20 minutes before you start. Softened cream cheese mixes smoothly. Cold cream cheese leaves lumps, and nobody wants lumps in their fluff.
Granulated sugar (½ cup / 100g) — Standard white sugar works best here. It dissolves easily into the cream cheese. If you’re using powdered sugar, reduce the amount to ⅓ cup because it’s sweeter and has cornstarch in it.
Vanilla extract (1 teaspoon) — Pure vanilla makes a huge difference. I use the brown bottle, not the imitation stuff. It adds that warm, bakery-like aroma that makes the dessert smell amazing.
Whipped topping (8 oz / 225g, thawed) — This is the secret to the “fluff.” I use Cool Whip or a store-brand equivalent. Make sure it’s fully thawed but still cold. If it’s melted into a liquid, it won’t hold air. Fold it in gently to keep the air bubbles alive.
Cherry pie filling (21 oz / 600g can) — I use the classic canned cherry pie filling with the syrup. Don’t drain it! The syrup is what keeps the fluff moist and adds that tart cherry flavor. If you use fresh cherries, you’ll need to cook them down into a compost first, and that’s too much work for a Tuesday night.
For the Graham Cracker Crumble
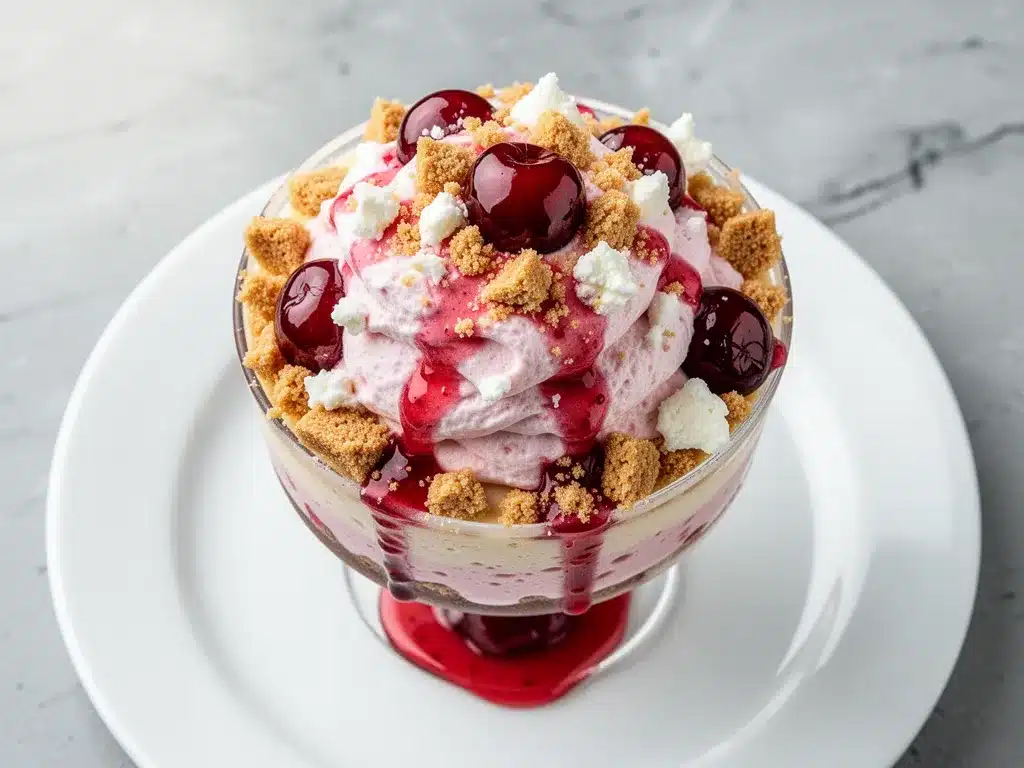
Graham crackers (1 sleeve / about 24 sheets) — I use the honey graham crackers for a slightly sweeter crunch. Regular graham crackers work too. Crush them into small pieces—some crumbs, some small chunks. You want texture, not dust.
Unsalted butter (3 tablespoons, melted) — This binds the crumbs together so they stick to the sides of the cup. Melt it in the microwave. Don’t burn it.
Optional: Sea salt (pinch) — A tiny pinch in the butter mixture cuts the sweetness. It’s a pro move that makes the cherry flavor pop.
Equipment Needed
You don’t need fancy equipment for this. Here’s what I actually use.
Large mixing bowl — I use a 4-quart bowl. It needs to be big enough to fold in the whipped topping without spilling. My ancient plastic bowl from college still works fine.
Electric hand mixer or stand mixer — Optional but helpful. I use it to beat the cream cheese and sugar until smooth. If you don’t have one, a sturdy whisk and a lot of elbow grease works too. Just make sure there are no lumps.
Ziplock bags or food processor — To crush the graham crackers. I put them in a bag and smash them with a rolling pin. It’s therapeutic. A food processor is faster but requires cleanup.
Small saucepan or microwave-safe bowl — For melting the butter. The microwave is faster, but do it in 15-second intervals so you don’t burn it.
Small cups or ramekins — I use 6-ounce ramekins or even disposable plastic dessert cups. You can use muffin liners, but the fluff is so light it sometimes slides out. Ramekins look fancier and hold up better.
Spatula — A rubber spatula is best for folding. It gets every bit of mixture out of the bowl and into the cups.
How to Make It: Step-by-Step
Alright, let’s make this! I’m walking you through exactly how I do it, including the little tricks I’ve picked up.
Step 1: Prepare Your Graham Cracker Crumble
Start with the crust because it needs to be ready while you mix the filling. Place your graham crackers in a ziplock bag. Seal it tight and smash them with a rolling pin until you have a mix of fine crumbs and small chunks. I like a chunky texture. Pour them into a small bowl.
Melt the butter in the microwave (about 30-45 seconds). Pour the melted butter over the crumbs. Mix well with a fork until every crumb is coated. It should look like wet sand. Set aside.
Step 2: Beat the Cream Cheese
In your large mixing bowl, add the softened cream cheese and sugar. Beat on medium-high speed for about 2-3 minutes. You want it completely smooth and creamy. Scrape down the sides of the bowl with your spatula. If there are lumps, keep beating. This step takes patience, but it’s worth it for the smooth texture.
Add the vanilla extract and mix for another 30 seconds. Taste it. It should be sweet and creamy. If you want it sweeter, add a tiny bit more sugar, but don’t go overboard—we have sweet pie filling coming.
Step 3: Fold in the Whipped Topping
This is the most important step for the “fluff” factor. Take your thawed whipped topping and gently fold it into the cream cheese mixture. Use a rubber spatula. Cut down through the middle, scoop from the bottom, and fold over the top. Do this gently. You want to keep the air in the whipped topping. If you mix too vigorously, you’ll deflate it and end up with a dense, heavy cheesecake instead of a light fluff.
Fold until there are no streaks of white or cream cheese left. The mixture should look uniform and airy.
Step 4: Assemble the Cups
Take your ramekins or cups. Spoon about 1 tablespoon of the graham cracker mixture into the bottom of each cup. Press it down lightly with the back of a spoon. This forms the base.
Now, add a spoonful of the cherry pie filling. Just a tablespoon or two. Don’t overdo it, or it’ll be too runny. Spread it slightly.
Top with a generous scoop of the cheesecake fluff mixture. Fill the cup almost to the top. Smooth the top with the back of a spoon.
Add another spoonful of cherry filling on top of the fluff. It looks beautiful with the red swirls against the white cream.
Finally, sprinkle the remaining graham cracker crumbs on top. This adds the crunch and makes it look finished.
Step 5: Chill and Serve
Place the cups in the fridge. Let them chill for at least 2 hours, but overnight is best. The cold helps the cream cheese set slightly and makes the flavors meld. When you’re ready to eat, pull them out and enjoy. They’re best cold.
Total Time: About 20 minutes active, plus 2 hours chilling.
Expert Tips & Tricks
Here’s everything I’ve learned from making this dozens of times. These tips will save you from my mistakes.
Don’t Skimp on the Cream Cheese Quality
I once used a cheaper brand of cream cheese, and the texture was grainy. Spend the extra dollar for a name brand like Philadelphia. It makes a noticeable difference in smoothness.
Thaw Whipped Topping Correctly
If your whipped topping is still icy or liquid, it won’t work. Thaw it in the fridge overnight, not on the counter. If you’re in a rush, thaw it in the microwave on low power, but check it every 10 seconds. It should be soft but still hold its shape.
Layering is Key
Don’t just mix everything together in one bowl. The layering of crumb, cherry, fluff, cherry, crumb is what makes each bite interesting. If you mix it all, you get a mushy mess. Keep the layers distinct.
Use a Piping Bag for Fancy Presentation
If you’re serving these to guests, pipe the fluff into the cups using a piping bag with a star tip. It looks restaurant-quality. But honestly, a spoon works fine. I’m not judging.
Storage Hack
If you’re making these ahead, cover the cups tightly with plastic wrap. They’ll last up to 4 days in the fridge. Don’t freeze them—the whipped topping will separate and become watery when thawed.
Variations & Substitutions
Once you’ve nailed the basic version, here’s how you can mix it up. I’ve tried all of these.
Strawberry Cheesecake Fluff
Swap the cherry pie filling for strawberry pie filling. Same process, same deliciousness. This is a crowd-pleaser for kids.
Blueberry Lemon
Use blueberry pie filling and add 1 teaspoon of lemon zest to the cream cheese mixture. The lemon brightens the blueberries perfectly.
Chocolate Cherry
Add 2 tablespoons of cocoa powder to the cream cheese mixture before adding the whipped topping. It turns it into a chocolate cherry cheesecake. My husband’s favorite.
Gluten-Free
Use gluten-free graham crackers. Most brands work fine in this recipe. Just check the ingredients to make sure they’re not too crumbly.
Dairy-Free
This is harder because of the cream cheese. Use a dairy-free cream cheese alternative (like Kite Hill) and coconut whipped topping. It’s different but still tasty. My lactose-intolerant friend requests this version.
Lower Sugar
Use sugar-free cherry pie filling and sugar-free whipped topping. Reduce the sugar in the cream cheese to ¼ cup. It’s still sweet enough from the pie filling.
Serving & Storage
How to serve these? I usually serve them straight from the ramekins at the dinner table. They look rustic and stay cold. But here are other ways I’ve enjoyed them:
Side Dishes
These are rich, so they don’t need much. A simple green salad with balsamic vinaigrette balances the sweetness. Or just enjoy them as is.
Toppings Bar
When I have guests, I put out extra toppings: crushed nuts (pecans or walnuts), fresh berries, or a drizzle of chocolate sauce. Everyone customizes their cup.
Wine Pairing
Not a wine expert, but my wine-snob friend says a sweet Riesling or Moscato works great with this. It matches the fruitiness.
Storage Instructions
Refrigerator: Store in an airtight container for up to 4 days. The crumbs will soften over time, but the flavor stays good.
Freezing: I don’t recommend freezing. The texture changes. Make it fresh or store in the fridge.
Meal Prep: Make these on Sunday for the week ahead. They’re perfect for lunchbox desserts or after-school snacks.
Nutrition Information
I’m not a nutritionist, but here’s the breakdown if you’re tracking. These are estimates based on 6 servings.
Per Serving (1 cup):
- Calories: 380
- Protein: 4g
- Carbs: 45g
- Fiber: 1g
- Sugar: 35g
- Fat: 20g
- Saturated Fat: 10g
- Cholesterol: 35mg
- Sodium: 250mg
What’s Good: It’s a decent treat. The cream cheese provides some protein and calcium. The graham crackers add some whole grains (if you use whole wheat).
What to Know: It’s high in sugar and fat because it’s a dessert. It’s not a health food. But it’s way better than store-bought cheesecake, which often has weird additives. This is real food, just indulgent.
Final Thoughts
So that’s my go-to Ultra-Creamy Cherry Cheesecake Fluff Cups! I’ve probably talked your ear off at this point, but when you make a recipe this often, you have a lot to say about it.
This has saved weeknight desserts more times than I can count. It’s my answer to “what’s for dessert?” when I’m tired, don’t want to bake, and still want something that tastes really good. My kids are happy, my husband’s happy, and I’m happy because I’m not stressed about cooking.
Make it yours! Try different flavors, swap in your favorite fruit, or adjust the sweetness. The best recipes are the ones you adapt to your family’s tastes.
If you make this, drop a comment and let me know what you think! I love hearing how recipes turn out in your kitchen. And if something doesn’t work, tell me that too—I’m here to help troubleshoot.
Happy cooking! And I hope your kitchen smells half as good as mine does right now.
Frequently Asked Questions
Can I use fresh cherries instead of pie filling?
You can, but you’ll need to cook them down first. Fresh cherries are too watery and won’t hold their shape. Chop them up, cook them in a saucepan with a little sugar and cornstarch until thickened, then let them cool completely before using. It’s more work, but if you have a bumper crop of cherries, it’s worth it.
Why did my fluff turn out runny?
Usually, this means the whipped topping was too thawed or mixed too vigorously. Make sure the whipped topping is cold and fluffy. Also, ensure your cream cheese is fully softened but not melted. If you melted the cream cheese, it will separate from the whipped topping. Fold gently to keep the air in.
Can I make these ahead for a dinner party?
Absolutely. These are actually better the next day. Make them up to 2 days ahead and store in the fridge. They’ll hold their shape well. Just add the top crumble right before serving so it stays crunchy.
Can I use a different type of cracker?
Yes! Nilla Wafers, vanilla wafers, or even shortbread cookies work great. Just crush them and mix with butter. The flavor will change slightly, but it’ll still be delicious. For a richer taste, try Oreo crumbs (without the cream filling).
How do I store leftovers?
Keep them in an airtight container in the fridge for up to 4 days. The crumbs will soften, but the flavor remains. Don’t freeze them.
Can I make this in a larger dish instead of cups?
Yes! You can press the crumb mixture into a 9×9 inch pan, layer the filling and cherries, and chill for 4 hours. Slice into squares. It’s great for potlucks. Just adjust the serving size accordingly.
Is there a way to make this less sweet?
Use sugar-free pie filling and reduce the sugar in the cream cheese. You can also add a pinch of salt to balance the sweetness. Or use a tart fruit like raspberries or blackberries instead of cherries.
Pin This Recipe!
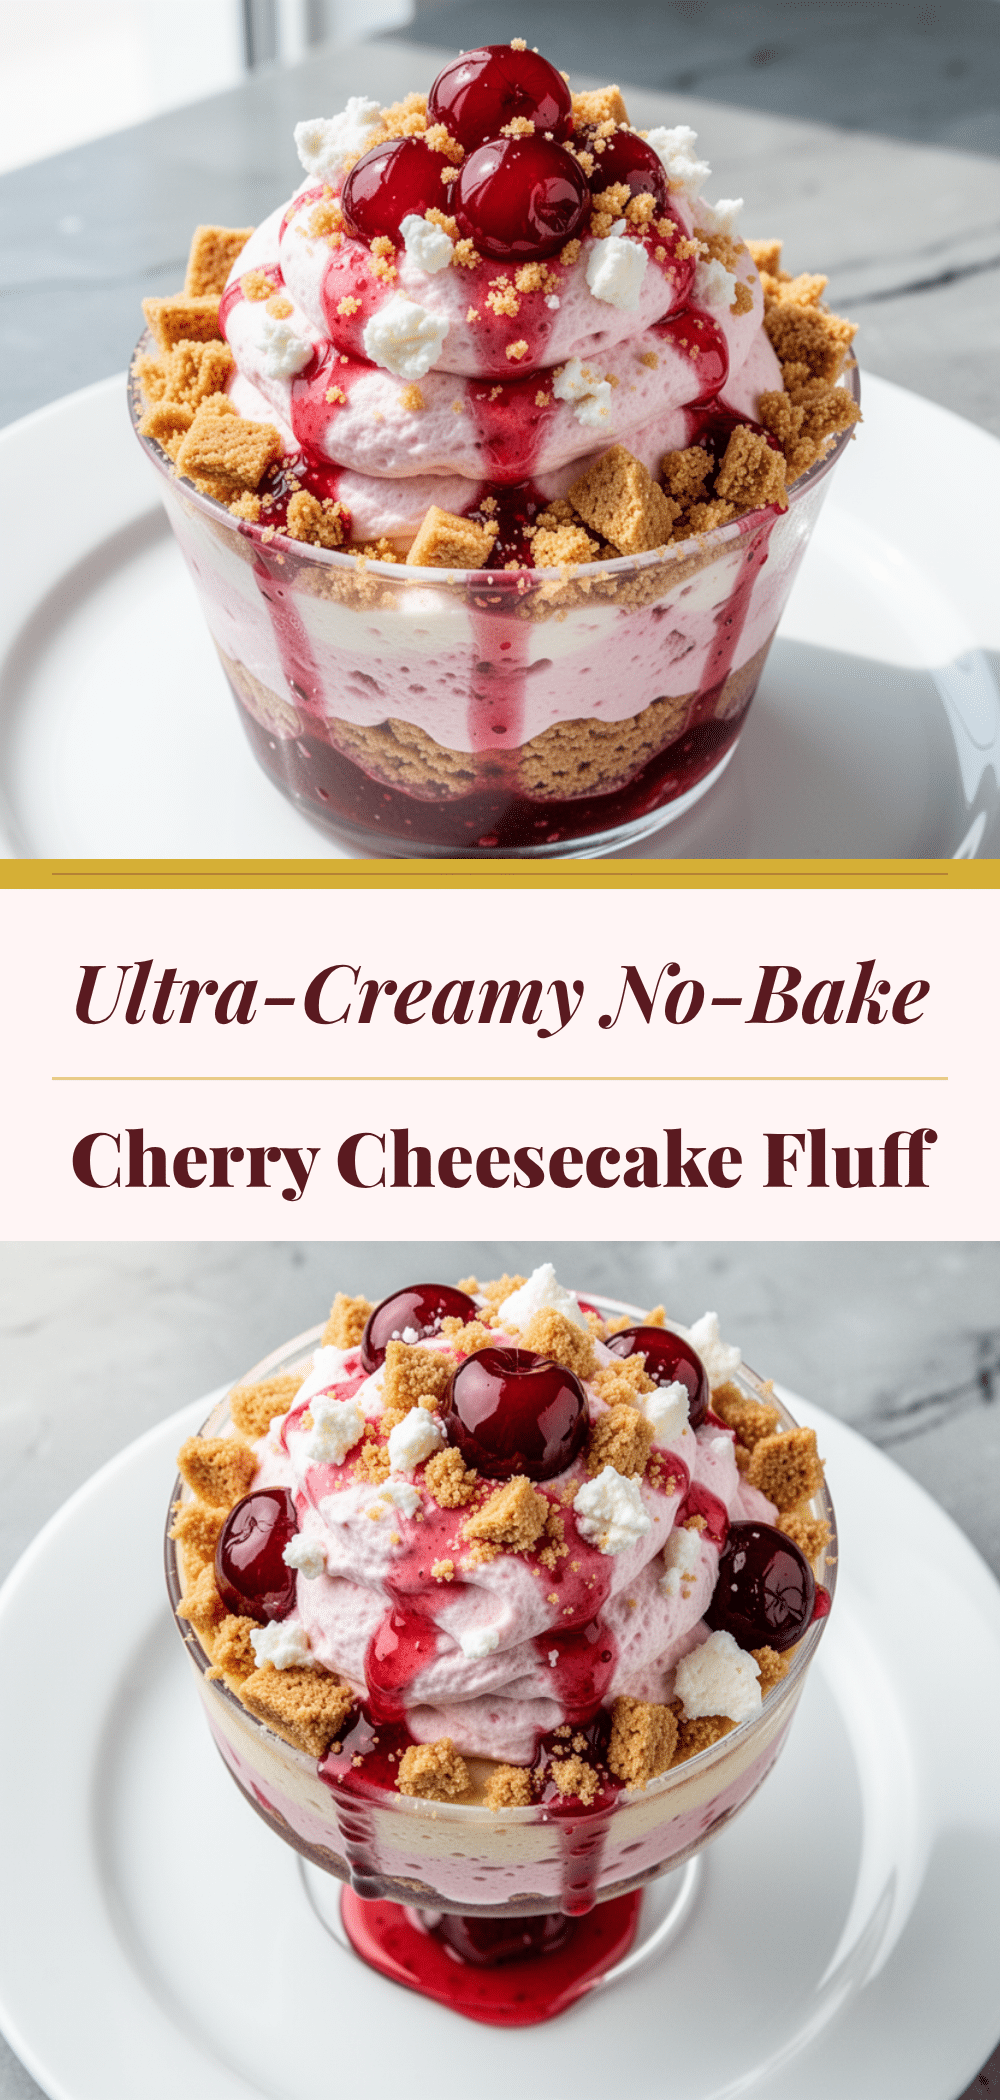
Ultra-Creamy Cherry Cheesecake Fluff Cups: 5-Ingredient Dessert
- Total Time: 20 minutes (plus 2 hours chilling)
- Yield: 6 servings 1x
Description
A no-bake, ultra-creamy dessert made with just a few pantry staples. This light and airy cherry cheesecake fluff is layered with graham cracker crumbs and cherry pie filling, ready in minutes and perfect for last-minute cravings.
Ingredients
- 8 oz (225g) full-fat cream cheese, softened
- 1/2 cup (100g) granulated sugar
- 1 teaspoon vanilla extract
- 8 oz (225g) whipped topping, thawed
- 21 oz (600g) can cherry pie filling
- 1 sleeve (about 24 sheets) graham crackers
- 3 tablespoons unsalted butter, melted
- Pinch of sea salt (optional)
Instructions
- Place graham crackers in a ziplock bag and crush into a mix of fine crumbs and small chunks using a rolling pin.
- Melt the butter in the microwave and pour it over the crushed graham crackers. Mix until the crumbs resemble wet sand. Set aside.
- In a large mixing bowl, beat the softened cream cheese and sugar on medium-high speed for 2-3 minutes until completely smooth. Scrape down the sides of the bowl.
- Add the vanilla extract and mix for another 30 seconds.
- Gently fold the thawed whipped topping into the cream cheese mixture using a rubber spatula until no streaks remain. Be careful not to deflate the air.
- Spoon about 1 tablespoon of the graham cracker mixture into the bottom of each ramekin or cup and press down lightly.
- Add a spoonful of cherry pie filling to the bottom of each cup.
- Top with a generous scoop of the cheesecake fluff mixture, filling almost to the top.
- Add another spoonful of cherry pie filling on top of the fluff.
- Sprinkle the remaining graham cracker crumbs over the top.
- Chill in the refrigerator for at least 2 hours, or overnight for best results.
Notes
Do not use low-fat cream cheese as it will not set properly. Ensure the whipped topping is fully thawed but still cold to maintain the airy texture. For best results, chill overnight to allow flavors to meld. Do not freeze, as the whipped topping may separate.
- Prep Time: 10 minutes
- Cook Time: 0 minutes
- Category: Dessert
- Cuisine: American
Nutrition
- Serving Size: 1 cup
- Calories: 380
- Sugar: 35
- Sodium: 250
- Fat: 20
- Saturated Fat: 10
- Carbohydrates: 45
- Fiber: 1
- Protein: 4
Keywords: no-bake dessert, cherry cheesecake, fluff, graham cracker crust, easy dessert, 5-ingredient recipe, make-ahead dessert, creamy dessert


