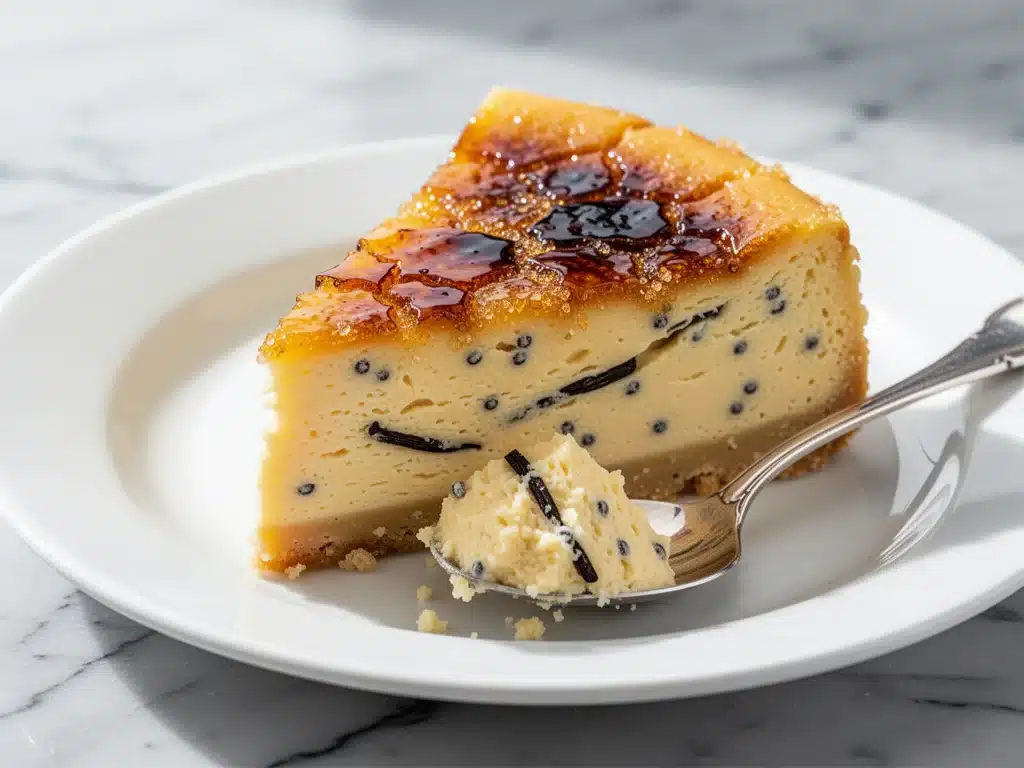
It was supposed to be a simple Tuesday dessert. Just a little something to finish off the leftover heavy cream before it went bad. I didn’t have a special occasion, no birthday candles, no holiday table to set. Just me, my husband, and a craving for something sweet that didn’t involve standing over a stove for an hour.
I pulled out my springform pan and started mixing. I followed a recipe I’d bookmarked months ago, the one with the fancy French technique and the water bath. I was patient. I waited the required hour for it to cool in the oven with the door cracked. I waited another four hours in the fridge. I sliced it with a trembling knife, expecting perfection.
It cracked. Not a little fissure, but a full-blown canyon right down the middle. The texture was dense, almost like eating a brick of sweetened butter. And the flavor? Vanilla extract. Not vanilla. It tasted like chemicals and sugar. I threw a forkful in the trash, feeling like a failure. That was three years ago.
Since then, I’ve tested this ultra-creamy vanilla bean cheesecake at least twenty times. I’ve burned the edges, overmixed the batter (a sin I confess to often), and used every brand of cream cheese imaginable. I’ve learned exactly what makes a cheesecake dense versus light, why vanilla bean paste is non-negotiable, and how to keep that crust from getting soggy. This recipe is the result of all those mistakes. It’s the one I make when I need to impress a difficult mother-in-law, and it’s the one I make when I just want a slice of heaven on a Sunday afternoon.
There’s something deeply satisfying about a cheesecake that doesn’t fight you. You know it’s done when it jiggles like Jell-O in the center. You know it’s ready when the vanilla aroma fills the entire kitchen, making my husband wander in from the garage asking, “What is that smell?” It’s not just a dessert; it’s a mood. It’s slow, it’s luxurious, and it’s worth every minute of the wait. If you’ve been intimidated by cheesecake, or if your previous attempts have ended in cracks and crumbles, this is the recipe that will change your mind. It’s foolproof, it’s incredibly rich, and it tastes like it came from a high-end bakery.
Why You’ll Love This Ultra-Creamy Vanilla Bean Cheesecake Recipe
Okay, so I’m biased. But hear me out. There are about ten reasons I keep coming back to this ultra-creamy vanilla bean cheesecake, but let’s focus on the ones that actually matter when you’re standing in the kitchen at 7 PM wondering what to do.
- Zero Cracks, Guaranteed — This is the biggest one. I’ve cracked the low-and-slow method into the code. By cooling the cake gradually in the turned-off oven, the temperature shock is gone. The surface stays smooth and beautiful. No ugly fissures to cover up with whipped cream or fruit compote. It just looks professional.
- Real Vanilla Flavor — I’m picky about this. Using vanilla bean paste (or real scraped pods) changes everything. Extract tastes flat after baking. Paste tastes like actual vanilla. You’ll see those tiny black specks throughout the pale yellow interior, and the flavor is deep, floral, and complex. It’s the difference between a grocery store cake and a patisserie cake.
- Texture That Melts — This isn’t that dense, heavy cheesecake that sits in your stomach like a brick. It’s airy, light, and creamy. It melts on your tongue. I attribute this to the way I whip the cream cheese and the addition of a little sour cream, which adds tang without heaviness. It’s the same silky texture you get in those expensive New York style slices, but easier to make.
- Make-Ahead Friendly — This is my secret weapon for dinner parties. You make it three days ahead. It tastes better the next day (the flavors meld), and the day after that. You can freeze it too. So when your guests arrive, your dessert is already done, chilling in the fridge, looking perfect. You’re not rushing around in the kitchen while everyone else is eating.
- Simple Ingredients — You don’t need exotic spices or hard-to-find ingredients. Cream cheese, sugar, eggs, vanilla, butter, graham crackers. You probably have most of this already. If you don’t, it’s a quick run to the store. It’s not a complicated recipe that requires three trips to the market.
This is my go-to when I want to feel like a baking pro without the stress. It’s reliable, it’s delicious, and it makes people stop talking and just eat.
Ingredients You’ll Need for the Best Vanilla Bean Cheesecake
Here’s the thing about cheesecake: quality matters more than quantity. You don’t need twenty ingredients, but the ones you do use need to be good. I’m particular about three things here, and I’ll tell you exactly why.
For the Crust
Graham cracker crumbs (1 ½ cups / 150g) — Don’t buy the pre-made crumbs if you can help it. They’re often stale or too sweet. Just take regular graham crackers, put them in a ziplock bag, and crush them with a rolling pin. It’s therapeutic and tastes fresher. If you’re lazy, store-bought is fine, but check the sugar content.
Unsalted butter (5 tablespoons / 70g, melted) — This binds the crust. Use real butter, not margarine. Margarine can make the crust greasy. Melt it completely before mixing.
Granulated sugar (2 tablespoons / 25g) — Just a little bit to sweeten the crust. Don’t skip it, or the crust will taste bland next to the filling.
Salt (¼ teaspoon) — Crucial. It cuts the sweetness and makes the buttery flavor pop. Use fine sea salt.
For the Filling
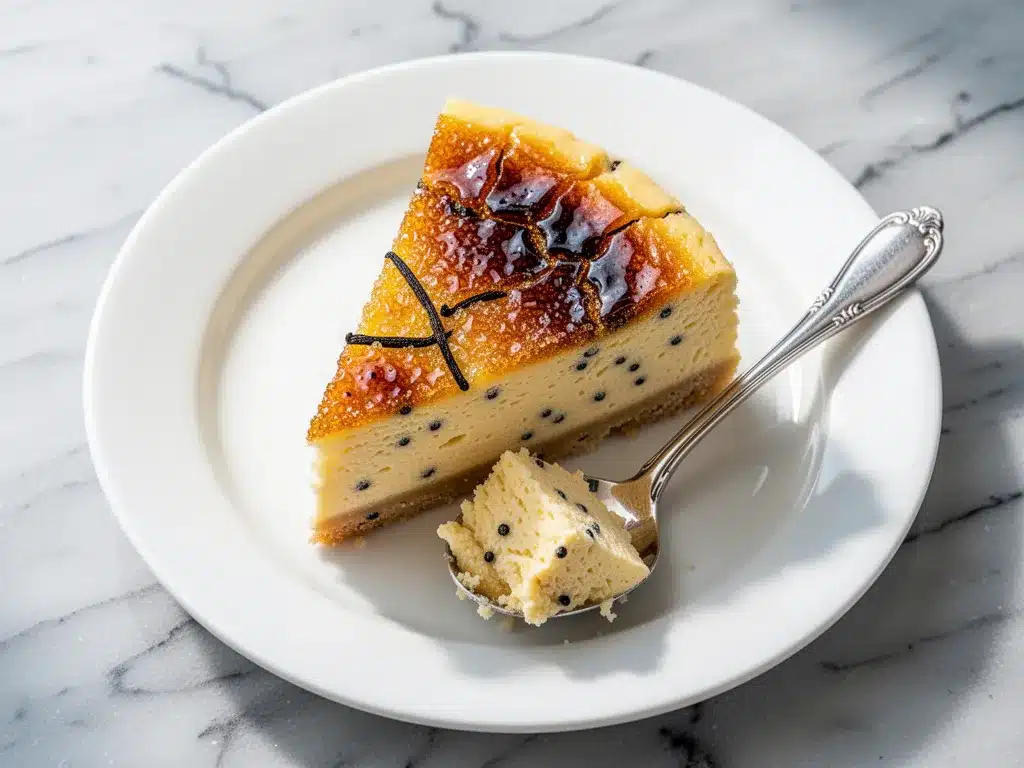
Full-fat cream cheese (32 ounces / 900g, 4 blocks) — This is the star. Do not buy the low-fat version. It will not set properly and will be grainy. Use Philadelphia or a similar high-quality brand. Let it sit on the counter for 30-45 minutes before you start. Cold cream cheese is the enemy of smooth cheesecake. I’ve ruined batches by rushing this step. Let it soften until it’s yieldable when you press it with your finger.
Granulated sugar (1 cup / 200g) — Standard white sugar. It dissolves easily into the cream cheese. Brown sugar adds moisture but can make the cake dense; stick to white for that classic texture.
Sour cream (1 cup / 240g) — This is the secret to the “ultra-creamy” part. It adds tang and moisture, keeping the crumb tender. Full-fat only. If you’re out, Greek yogurt works in a pinch, but sour cream is better.
Vanilla bean paste (2 tablespoons / 30ml) — Or 2 real vanilla beans, scraped. I use paste because it’s consistent and easy to measure. It gives you those beautiful black specks and intense flavor. Vanilla extract is too weak for this. You need the intensity.
Large eggs (4 large eggs) — Room temperature eggs blend better. If you crack a cold egg into the mixture, it might curdle the cream cheese. Take them out of the fridge an hour before.
Vanilla pudding mix (1 small box / 3.4 ounces) — Yes, really. This is my non-negotiable trick. It stabilizes the cheesecake, preventing cracks and sinking, while adding extra vanilla flavor and creaminess. It’s not cheating; it’s science. I learned this from a professional baker friend who swore by it. Trust me.
Optional Toppings
Whipped cream — Homemade is best. Just heavy cream, a little sugar, and vanilla.
Strawberry compote — Fresh strawberries simmered with a little sugar and lemon juice. The acidity cuts through the richness.
Equipment Needed
You don’t need fancy gadgets. Here’s what I actually use.
9-inch springform pan — The classic round pan with the latch. Make sure the latch is tight! I wrap the outside in two layers of heavy-duty aluminum foil to prevent water from seeping in if I use a water bath (though this recipe doesn’t strictly require one, it’s good insurance).
Hand mixer or stand mixer — A hand mixer is fine, but a stand mixer with the paddle attachment is easier for getting that smooth texture. I use my stand mixer most of the time.
Electric whisk — Essential for beating air into the cream cheese. You want it fluffy before you add the sugar.
Large mixing bowls — One for the dry ingredients, one for the wet. Or just one big bowl if you’re efficient.
Pastry brush — For brushing water on the foil if you’re paranoid about leaks. Or just a spoon.
Offset spatula — For smoothing the top of the cheesecake. It gives you that professional, flat finish.
Knife — For slicing. Dip it in hot water between cuts for clean slices. This is a pro tip that changes everything.
How to Make It: Step-by-Step
Alright, let’s make this! I’m walking you through exactly how I do it, including the little tricks I’ve picked up over the years.
Step 1: Prep Your Pan and Oven (5 minutes)
Preheat your oven to 325°F (165°C). Grease the bottom of your springform pan with butter. Do not grease the sides; the batter needs to climb up the sides as it bakes. If it’s greased, it might slide down and crack. Wrap the outside of the pan in foil if you’re using a water bath, but for this ultra-creamy method, it’s not strictly necessary unless you’re worried about leaks.
Step 2: Make the Crust (5 minutes)
In a medium bowl, mix the graham cracker crumbs, melted butter, sugar, and salt. It should look like wet sand. Press this mixture firmly into the bottom of the springform pan. Use the bottom of a measuring cup to pack it down tight. You want a solid base. Bake the crust for 8 minutes at 325°F. Let it cool completely while you make the filling. This pre-bake ensures a crisp crust, not a soggy one.
Step 3: Whip the Cream Cheese (3 minutes)
In a large bowl, beat the softened cream cheese on medium-high speed until it is completely smooth and creamy. This takes about 2-3 minutes. Scrape down the sides of the bowl with a spatula. If there are any lumps, keep beating. You want it to look like frosting. This is the most important step for texture.
Step 4: Add Sugar and Vanilla (2 minutes)
Reduce the mixer speed to low. Add the sugar and vanilla bean paste. Mix until combined. Scrape the bowl again. If you add the eggs too fast, you’ll incorporate too much air, which leads to cracks. Go slow here.
Step 5: Incorporate Eggs and Sour Cream (3 minutes)
Add the sour cream and mix on low until just combined. Then, add the eggs one at a time, mixing on low speed only until the yellow disappears. Do not overmix! Once the eggs are in, the batter is done. Overmixing adds air, and air expands in the oven, then collapses, causing cracks. I know it’s tempting to keep beating, but resist. Stop as soon as it’s smooth.
Step 6: Bake the Cheesecake (1 hour 10 minutes)
Pour the batter over the cooled crust. Smooth the top with an offset spatula. Bake at 325°F for 60-70 minutes. The cheesecake is done when the edges are set but the center still jiggles slightly like Jell-O when you shake the pan. It should not be liquid, but it should have a wobble. If it’s firm all the way through, it’s overbaked and will crack.
Step 7: The Cool Down (Critical Step)
Turn off the oven. Crack the oven door open about 2 inches (use a wooden spoon to hold it). Let the cheesecake sit in the cooling oven for 1 hour. This gradual cooling prevents the thermal shock that causes cracks. After an hour, remove it from the oven and let it cool completely on a wire rack. Then, refrigerate for at least 6 hours, preferably overnight.
Expert Tips & Tricks for Success
Here’s everything I’ve learned from making this dozens of times. These tips will save you from my mistakes.
- Room Temperature is King — I can’t stress this enough. Cream cheese, eggs, sour cream—they all need to be room temperature. If you mix cold eggs into room temp cream cheese, it seizes up. Leave everything out for at least an hour before you start.
- Don’t Overmix — Once you add the eggs, mix on low speed and stop as soon as it’s combined. Air bubbles are the enemy of a smooth cheesecake. They expand and cause cracks.
- The Jiggle Test — Don’t trust the timer. Trust the jiggle. The center should wobble slightly. It will firm up as it cools. If you wait for it to be firm in the oven, it’s overbaked.
- Hot Knife Slicing — Dip your knife in hot water and wipe it dry before each cut. This gives you those perfect, clean slices. It looks professional and makes serving easier.
- Patience with Cooling — Do not rush the cooling process. Let it cool in the turned-off oven. Then let it cool on the counter. Then refrigerate. If you put it in the fridge while it’s still warm, condensation will form and make the top soggy.
Variations & Substitutions
Once you’ve nailed the basic version, here’s how you can mix it up. I’ve tried all of these.
Chocolate Swirl
Melt ½ cup chocolate chips and swirl it into the batter before baking. Create a marble effect with a knife. It’s rich and decadent.
Berry Compote Topper
Simmer 1 cup fresh berries with 2 tablespoons sugar and 1 teaspoon lemon juice until thickened. Let it cool completely and pour it over the chilled cheesecake. The acidity cuts the richness beautifully.
Gluten-Free
Use gluten-free graham crackers or almond flour for the crust. The filling is naturally gluten-free, so just ensure your vanilla paste and pudding mix are certified GF.
Lighter Version
Replace half the cream cheese with Greek yogurt. It’s tangier and lighter, but still creamy. I make this when I’m trying to be “healthy,” though let’s be honest, it’s still a cheesecake.
Serving & Storage
How to Serve: I usually serve this straight from the fridge, with a dollop of whipped cream and fresh berries. It’s best when it’s cold and firm. Let it sit on the counter for 10 minutes before slicing if you want it softer.
Storage: Keep it covered in the fridge for up to 5 days. It actually tastes better on day 2 and 3 as the flavors meld. Do not leave it out at room temperature for more than 2 hours.
Freezing: Yes, you can freeze it! Wrap the whole springform pan (or individual slices) tightly in plastic wrap and then foil. Freeze for up to 2 months. Thaw in the fridge overnight. It might lose a tiny bit of texture, but it’s still delicious.
Nutrition Information
I’m not a nutritionist, but here’s the breakdown if you’re tracking. Keep in mind, this is a rich dessert, so portion control is key.
Per Serving (1/12th of cake):
- Calories: 380
- Protein: 6g
- Carbs: 32g
- Fat: 24g
- Sugar: 22g
It’s high in fat and sugar, obviously. But it’s also high in protein from the cheese and eggs. If you’re watching calories, stick to one slice and pair it with a cup of tea or black coffee. It’s a treat, not a snack.
Final Thoughts
So that’s my ultra-creamy vanilla bean cheesecake! I’ve probably talked your ear off at this point, but when you make a recipe this often, you have a lot to say about it. This has saved my dessert game more times than I can count. It’s my answer to “what do I bring to the party?” or “what do I make for my anniversary?” when I want to feel fancy but don’t want to stress.
Make it yours! Try different toppings, swap in your favorite extract (though I still recommend vanilla bean), and enjoy the process. The best recipes are the ones you adapt to your family’s tastes. If you make this, drop a comment and let me know what you think! I love hearing how recipes turn out in your kitchen. And if something doesn’t work, tell me that too—I’m here to help troubleshoot.
Happy baking! And I hope your kitchen smells half as good as mine does right now.
Frequently Asked Questions
Can I use vanilla extract instead of vanilla bean paste?
You can, but the flavor won’t be as intense. If you use extract, use 2 tablespoons instead of 2 teaspoons. But honestly, vanilla bean paste is worth the extra cost. It gives you that speckled look and deep flavor. If you’re making this for a special occasion, don’t skimp on the vanilla.
Why did my cheesecake crack?
Cracks are usually caused by overmixing (too much air), overbaking (too firm in the oven), or cooling too quickly (thermal shock). Follow my tips: mix gently, bake until just set, and cool slowly in the oven. This recipe is designed to prevent cracks, so if you still get one, it’s likely one of these three factors.
Can I make this in a water bath?
Yes, but it’s not strictly necessary for this recipe. The pudding mix and sour cream help stabilize it. If you prefer a water bath, wrap your pan in foil and place it in a roasting pan filled with hot water. It adds another step, but it can help keep the edges from overcooking.
How long does it take to cool?
It takes about 1 hour in the turned-off oven, then another hour on the counter, then at least 6 hours in the fridge. Total time from oven to table is about 8-10 hours. Plan ahead! It’s not a quick dessert, but the prep time is short.
Can I use a different pan size?
Yes, but adjust the baking time. For an 8-inch pan, bake for 10-15 minutes longer. For a 10-inch pan, bake for 10-15 minutes less. The center should still jiggle slightly when done. Keep an eye on it.
What if I don’t have a springform pan?
You can make it in a regular round cake pan, but you’ll need to line it with parchment paper and invert it to remove the cake. It’s not as elegant, but it works. Just be careful when slicing.
Is this similar to other cheesecake recipes?
It’s similar to no-bake pumpkin spice cheesecake bars in terms of texture, but this one is baked and has a crisper crust. It’s also a great alternative if you’re looking for something lighter than cozy fall sweet potato pie bars but still indulgent.
Pin This Recipe!
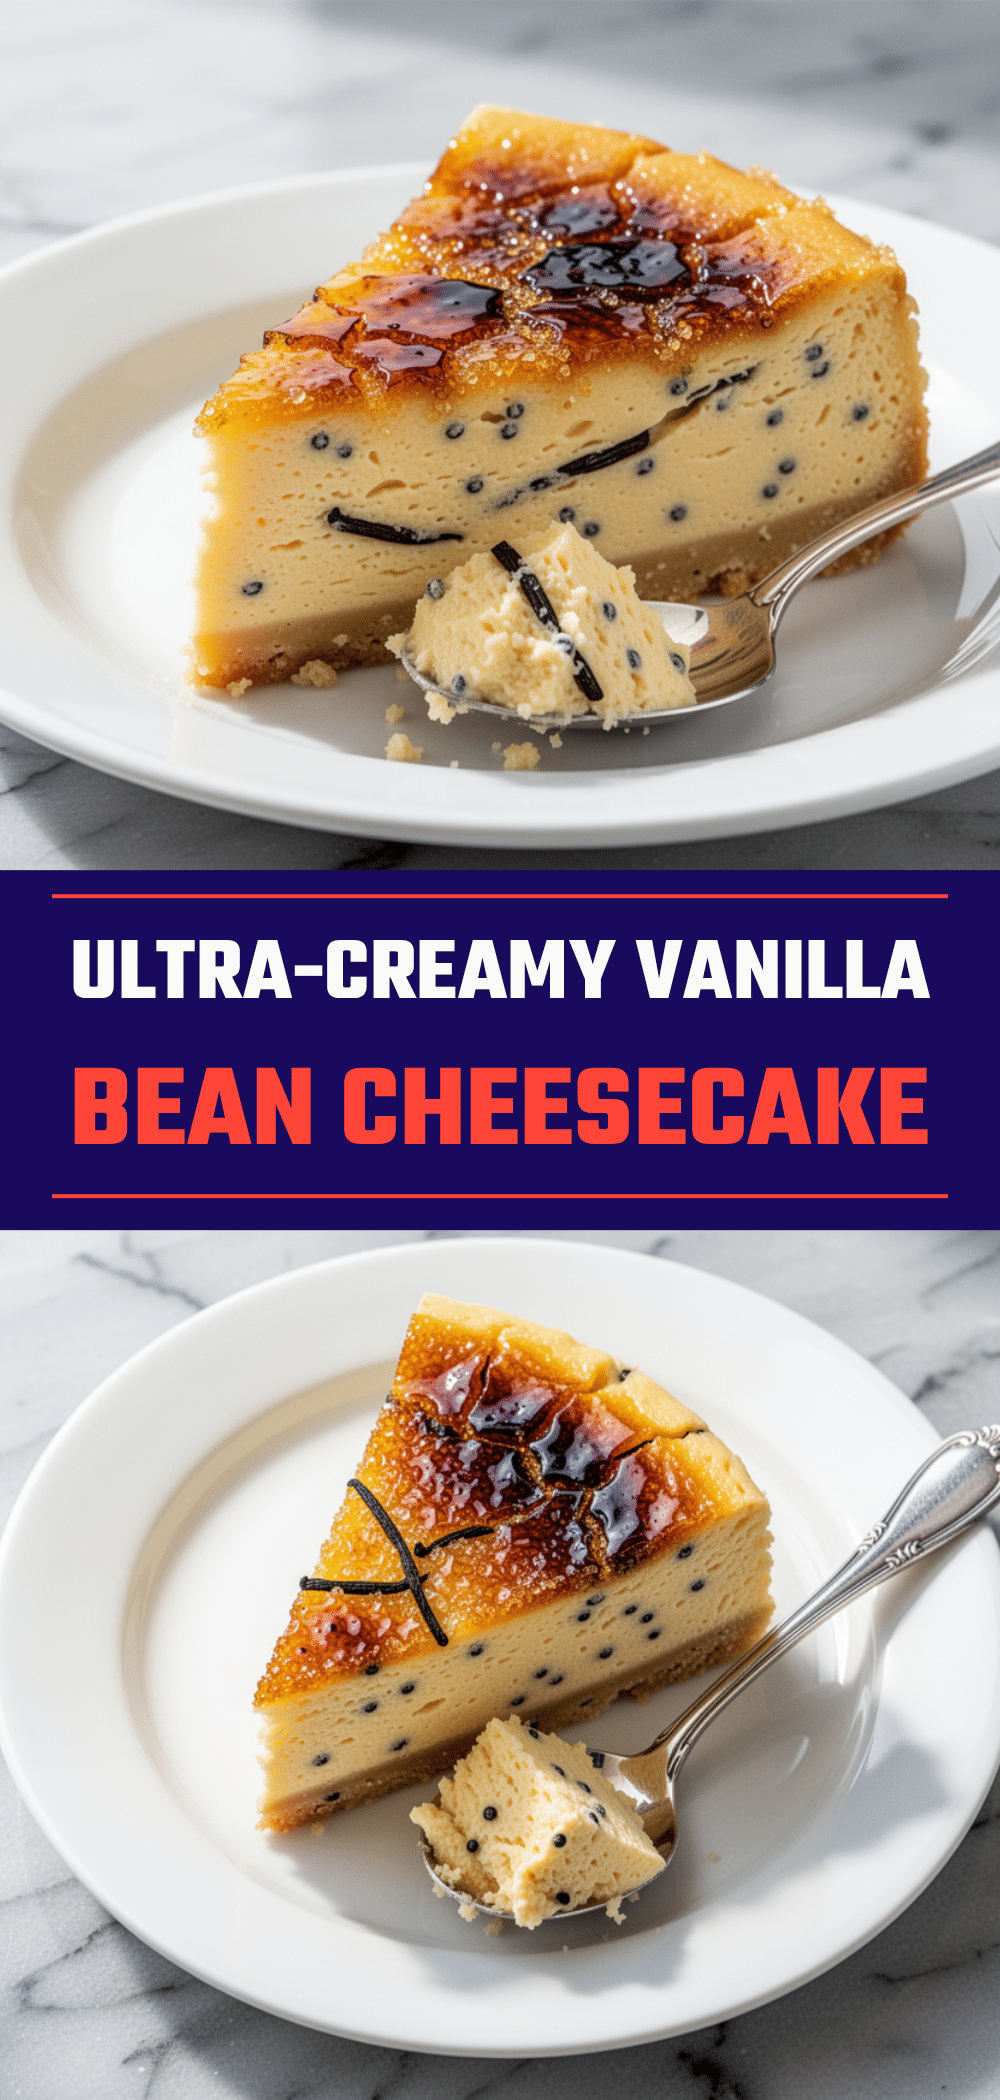
Ultra-Creamy Vanilla Bean Cheesecake
- Total Time: 8 hours 30 minutes
- Yield: 12 servings 1x
Description
A foolproof, ultra-creamy vanilla bean cheesecake that guarantees zero cracks and a professional, bakery-quality texture. This recipe uses vanilla bean paste and a stabilizing pudding mix for an airy, light, and luxurious dessert.
Ingredients
- 1 ½ cups (150g) graham cracker crumbs
- 5 tablespoons (70g) unsalted butter, melted
- 2 tablespoons (25g) granulated sugar
- ¼ teaspoon fine sea salt
- 32 ounces (900g) full-fat cream cheese, softened
- 1 cup (200g) granulated sugar
- 1 cup (240g) full-fat sour cream
- 2 tablespoons (30ml) vanilla bean paste
- 4 large eggs, room temperature
- 1 small box (3.4 ounces) vanilla pudding mix
Instructions
- Preheat oven to 325°F (165°C). Grease the bottom of a 9-inch springform pan with butter, but do not grease the sides.
- In a medium bowl, mix graham cracker crumbs, melted butter, 2 tablespoons sugar, and salt until it resembles wet sand.
- Press the crust mixture firmly into the bottom of the springform pan. Bake for 8 minutes at 325°F, then let cool completely.
- In a large bowl, beat the softened cream cheese on medium-high speed until completely smooth and creamy (2-3 minutes). Scrape down the sides.
- Reduce mixer speed to low. Add 1 cup sugar and vanilla bean paste. Mix until combined and scrape the bowl again.
- Add sour cream and mix on low until just combined.
- Add eggs one at a time, mixing on low speed only until the yellow color disappears. Do not overmix.
- Fold in the vanilla pudding mix until incorporated.
- Pour batter over the cooled crust and smooth the top with an offset spatula.
- Bake at 325°F for 60-70 minutes. The edges should be set, but the center should jiggle slightly like Jell-O when shaken.
- Turn off the oven and crack the door open about 2 inches (use a wooden spoon to hold it). Let the cheesecake sit in the cooling oven for 1 hour.
- Remove from the oven and let cool completely on a wire rack.
- Refrigerate for at least 6 hours, preferably overnight, before slicing.
Notes
Ensure all ingredients (cream cheese, eggs, sour cream) are at room temperature before mixing to prevent curdling. Do not overmix the batter after adding eggs, as this incorporates air which causes cracks. For clean slices, dip a knife in hot water and wipe dry between cuts. The cheesecake tastes better on day 2 and 3 as flavors meld.
- Prep Time: 20 minutes
- Cook Time: 1 hour 10 minutes
- Category: Dessert
- Cuisine: American
Nutrition
- Serving Size: 1/12th of cake
- Calories: 380
- Sugar: 22
- Sodium: 280
- Fat: 24
- Saturated Fat: 14
- Carbohydrates: 32
- Fiber: 1
- Protein: 6
Keywords: vanilla bean cheesecake, creamy cheesecake, no crack cheesecake, easy cheesecake recipe, vanilla bean paste, homemade cheesecake


